

I got my first taste of 3D printing!
I had been exposed to it five years ago when 3D printers started to get into the consumer market. The geophysics company I worked for had a 3D printer in one of its offices to test out manufacturing replacement parts, including tail fins.
Fast forward a few years and 3D printing has entered the consumer market for hobbyists. The Ottawa Public Library has a 3D printer. A number of my coworkers at my current employer have one too.
So for (a very belated) Christmas gift, I was asked for a map of Vancouver to figure out the best bicycle routes. This is actually a pretty complicated problem. Rudimentary car navigation relies on cost equations along lines (roads). These lines have different weight based on their individual speed limit, so that highways are prioritized over side roads. Then you figure out the shortest path, following the lines (roads), from one point to another keeping those weights in mind.
With bicycles, you have to give paths weight according to the energy required to go up hills. This means combining two classes of data: vector (think lines like roads) with raster (think images like elevation). Open-source tools are pretty awful at combining these two. The math is fun, but difficult to implement and I don’t think the end-result would be useful. There are so many things you can do that wouldn’t be taken into account.
So I thought of an alternative: what if they had a 3D printed topographical map of Vancouver? Then they could see for themselves what routes might be better for them. Our brains are pretty great computers.
Making the model
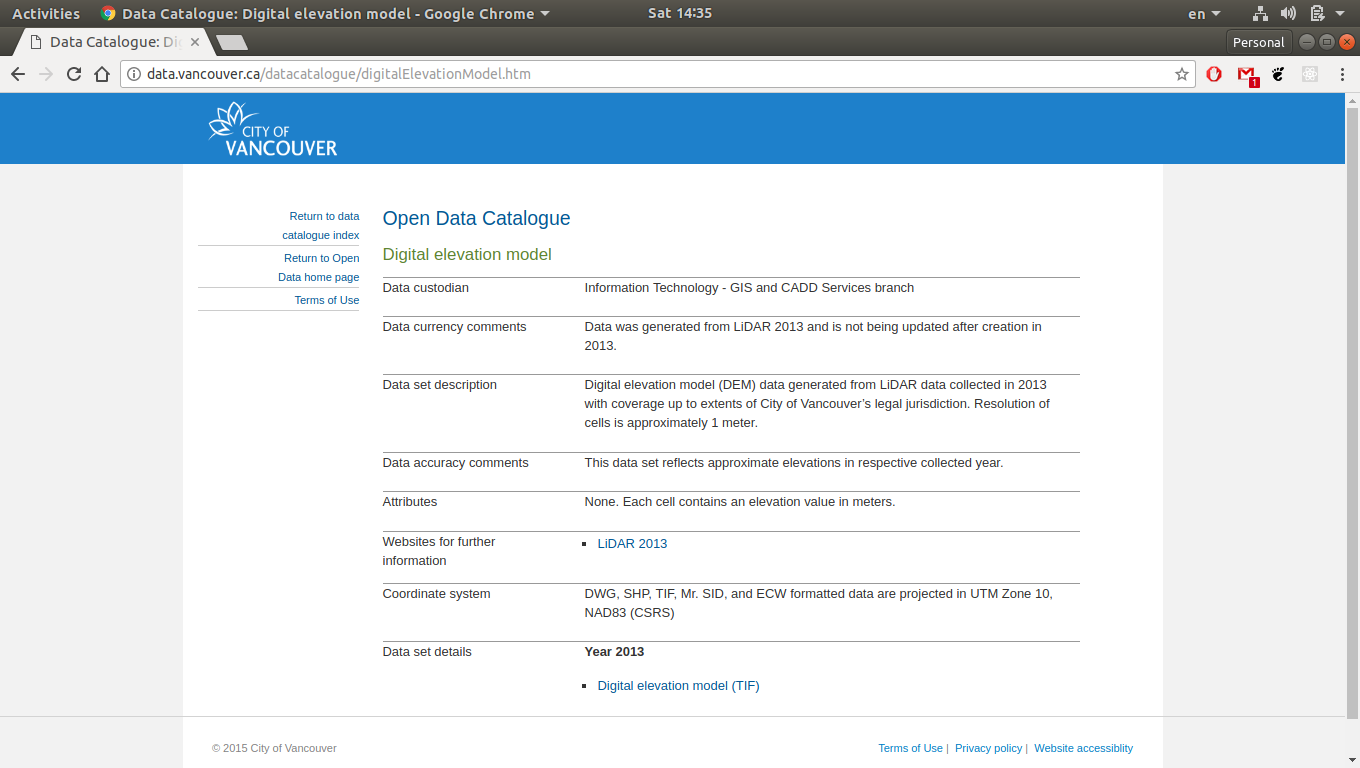
The first step was to download elevation data of Vancouver. Vancouver, like many other cities, releases this data for free as part of an open data initiative. This was likely collected through aerial surveys using LIDAR, post-processed to remove buildings and make the topography evident.
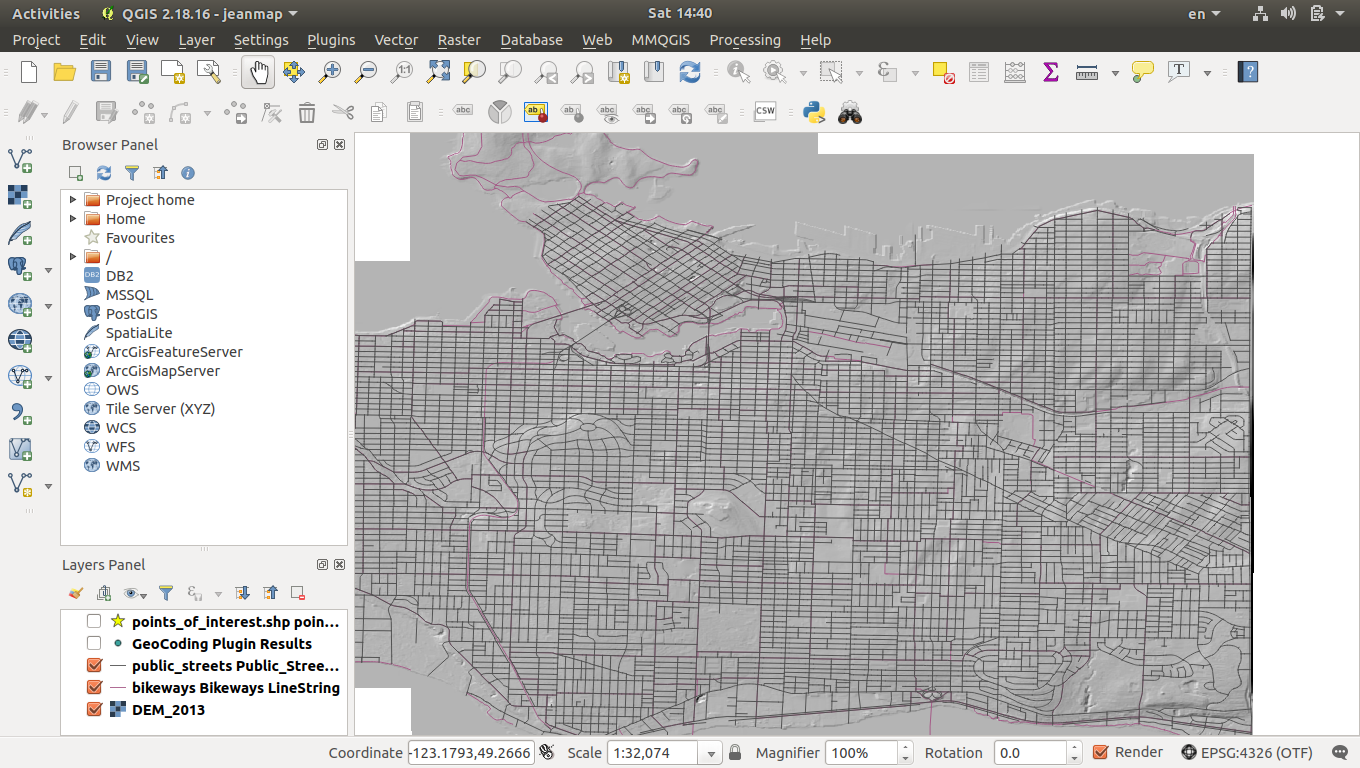
I downloaded the data and loaded it into QGis, an open-source GIS software. I also downloaded road data and bicycle routes from Vancouver’s open data website. The person this was for had also given me important locations to them, which I loaded in as point data (not shown in these screenshots for privacy).
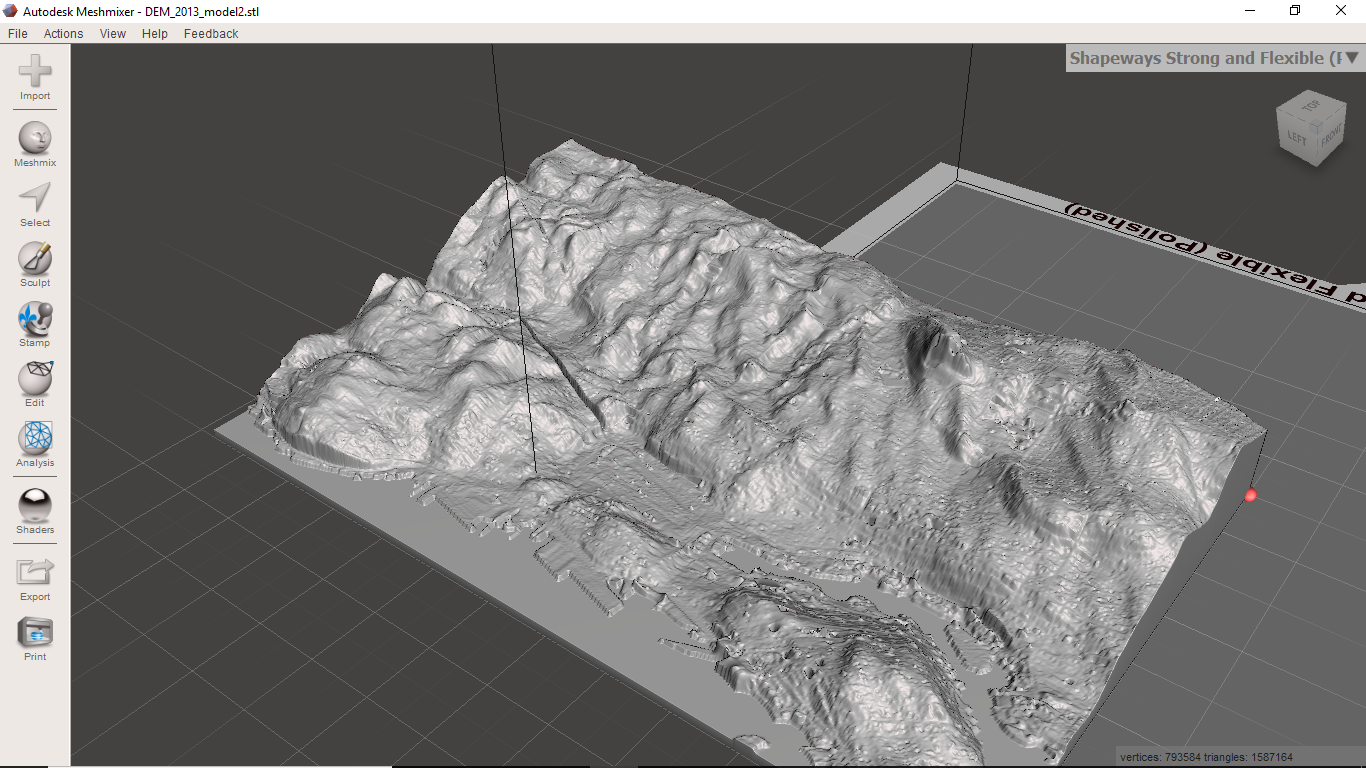
I then used a plug-in for QGis, called DEMto3D, to create a 3D mesh in the STL format commonly used by 3D printers. I loaded this mesh into a free tool called Autodesk Meshmixer, as to simplify the mesh. The mesh file was initially 250 MB, and the 3D printer I was using supported a maximum of 64 MB.
I then printed the mesh. The end result was pretty great! I lost some of the detail in the original mesh, which showed the road as bumps.
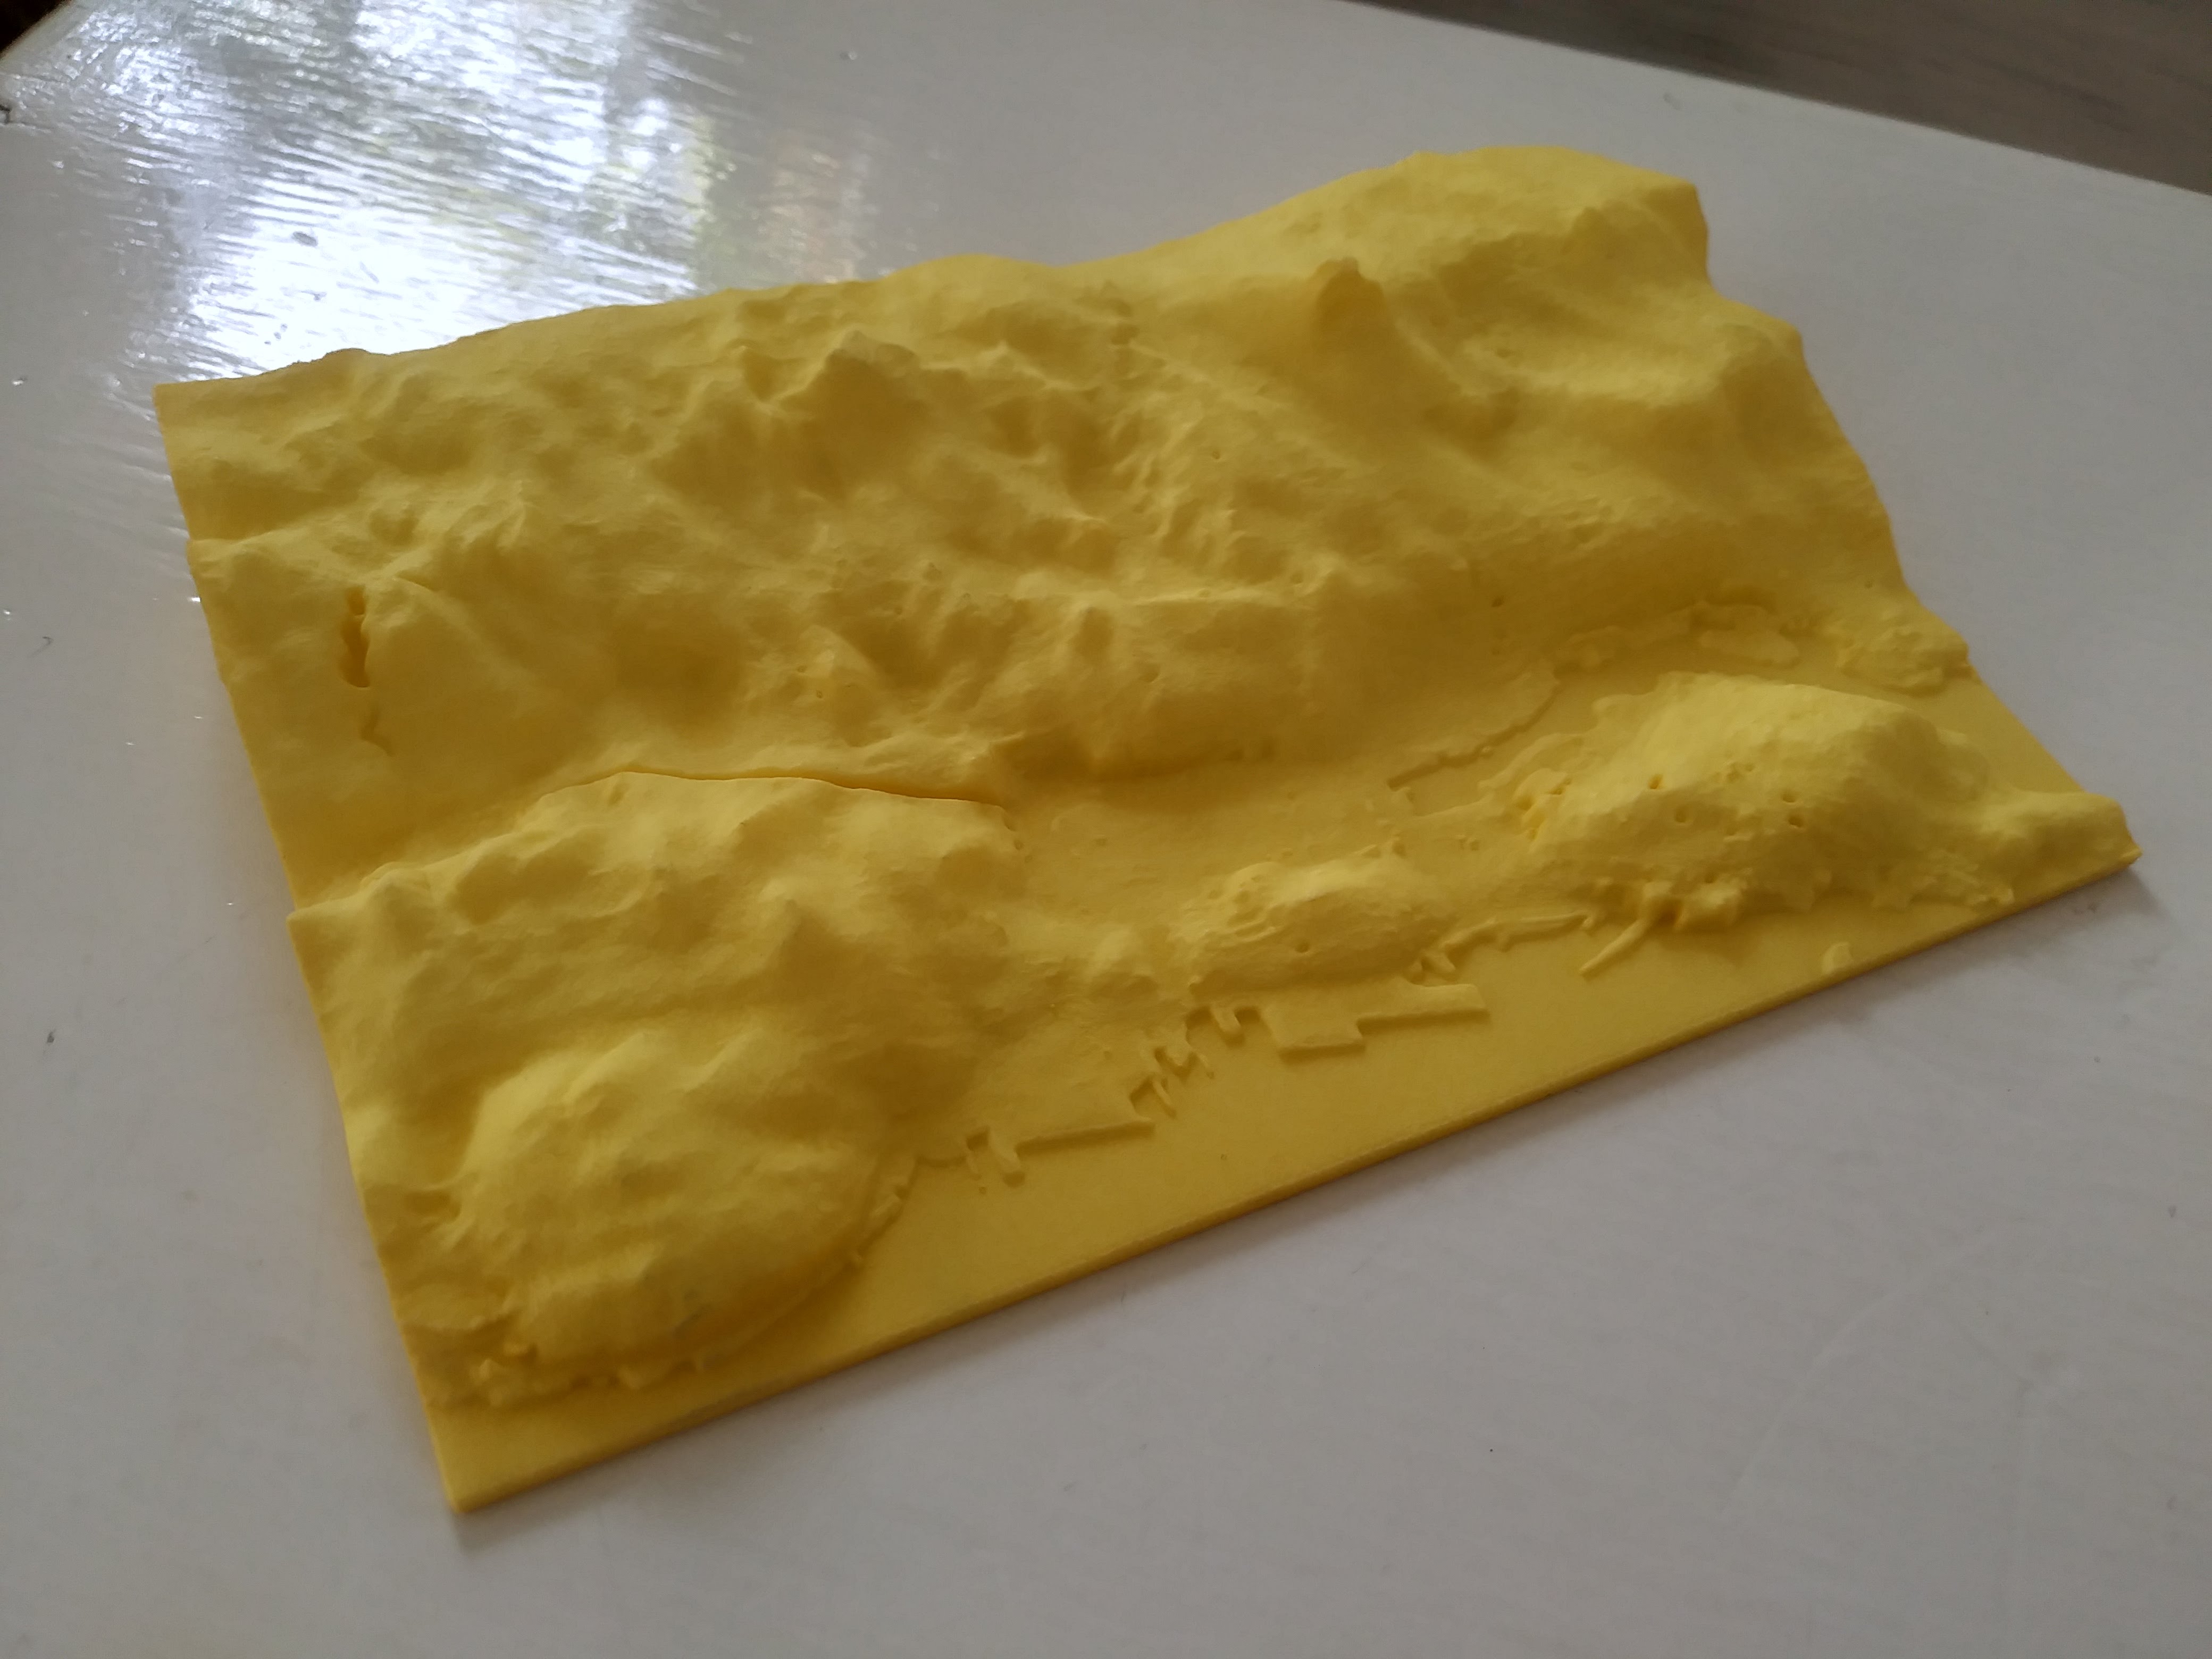
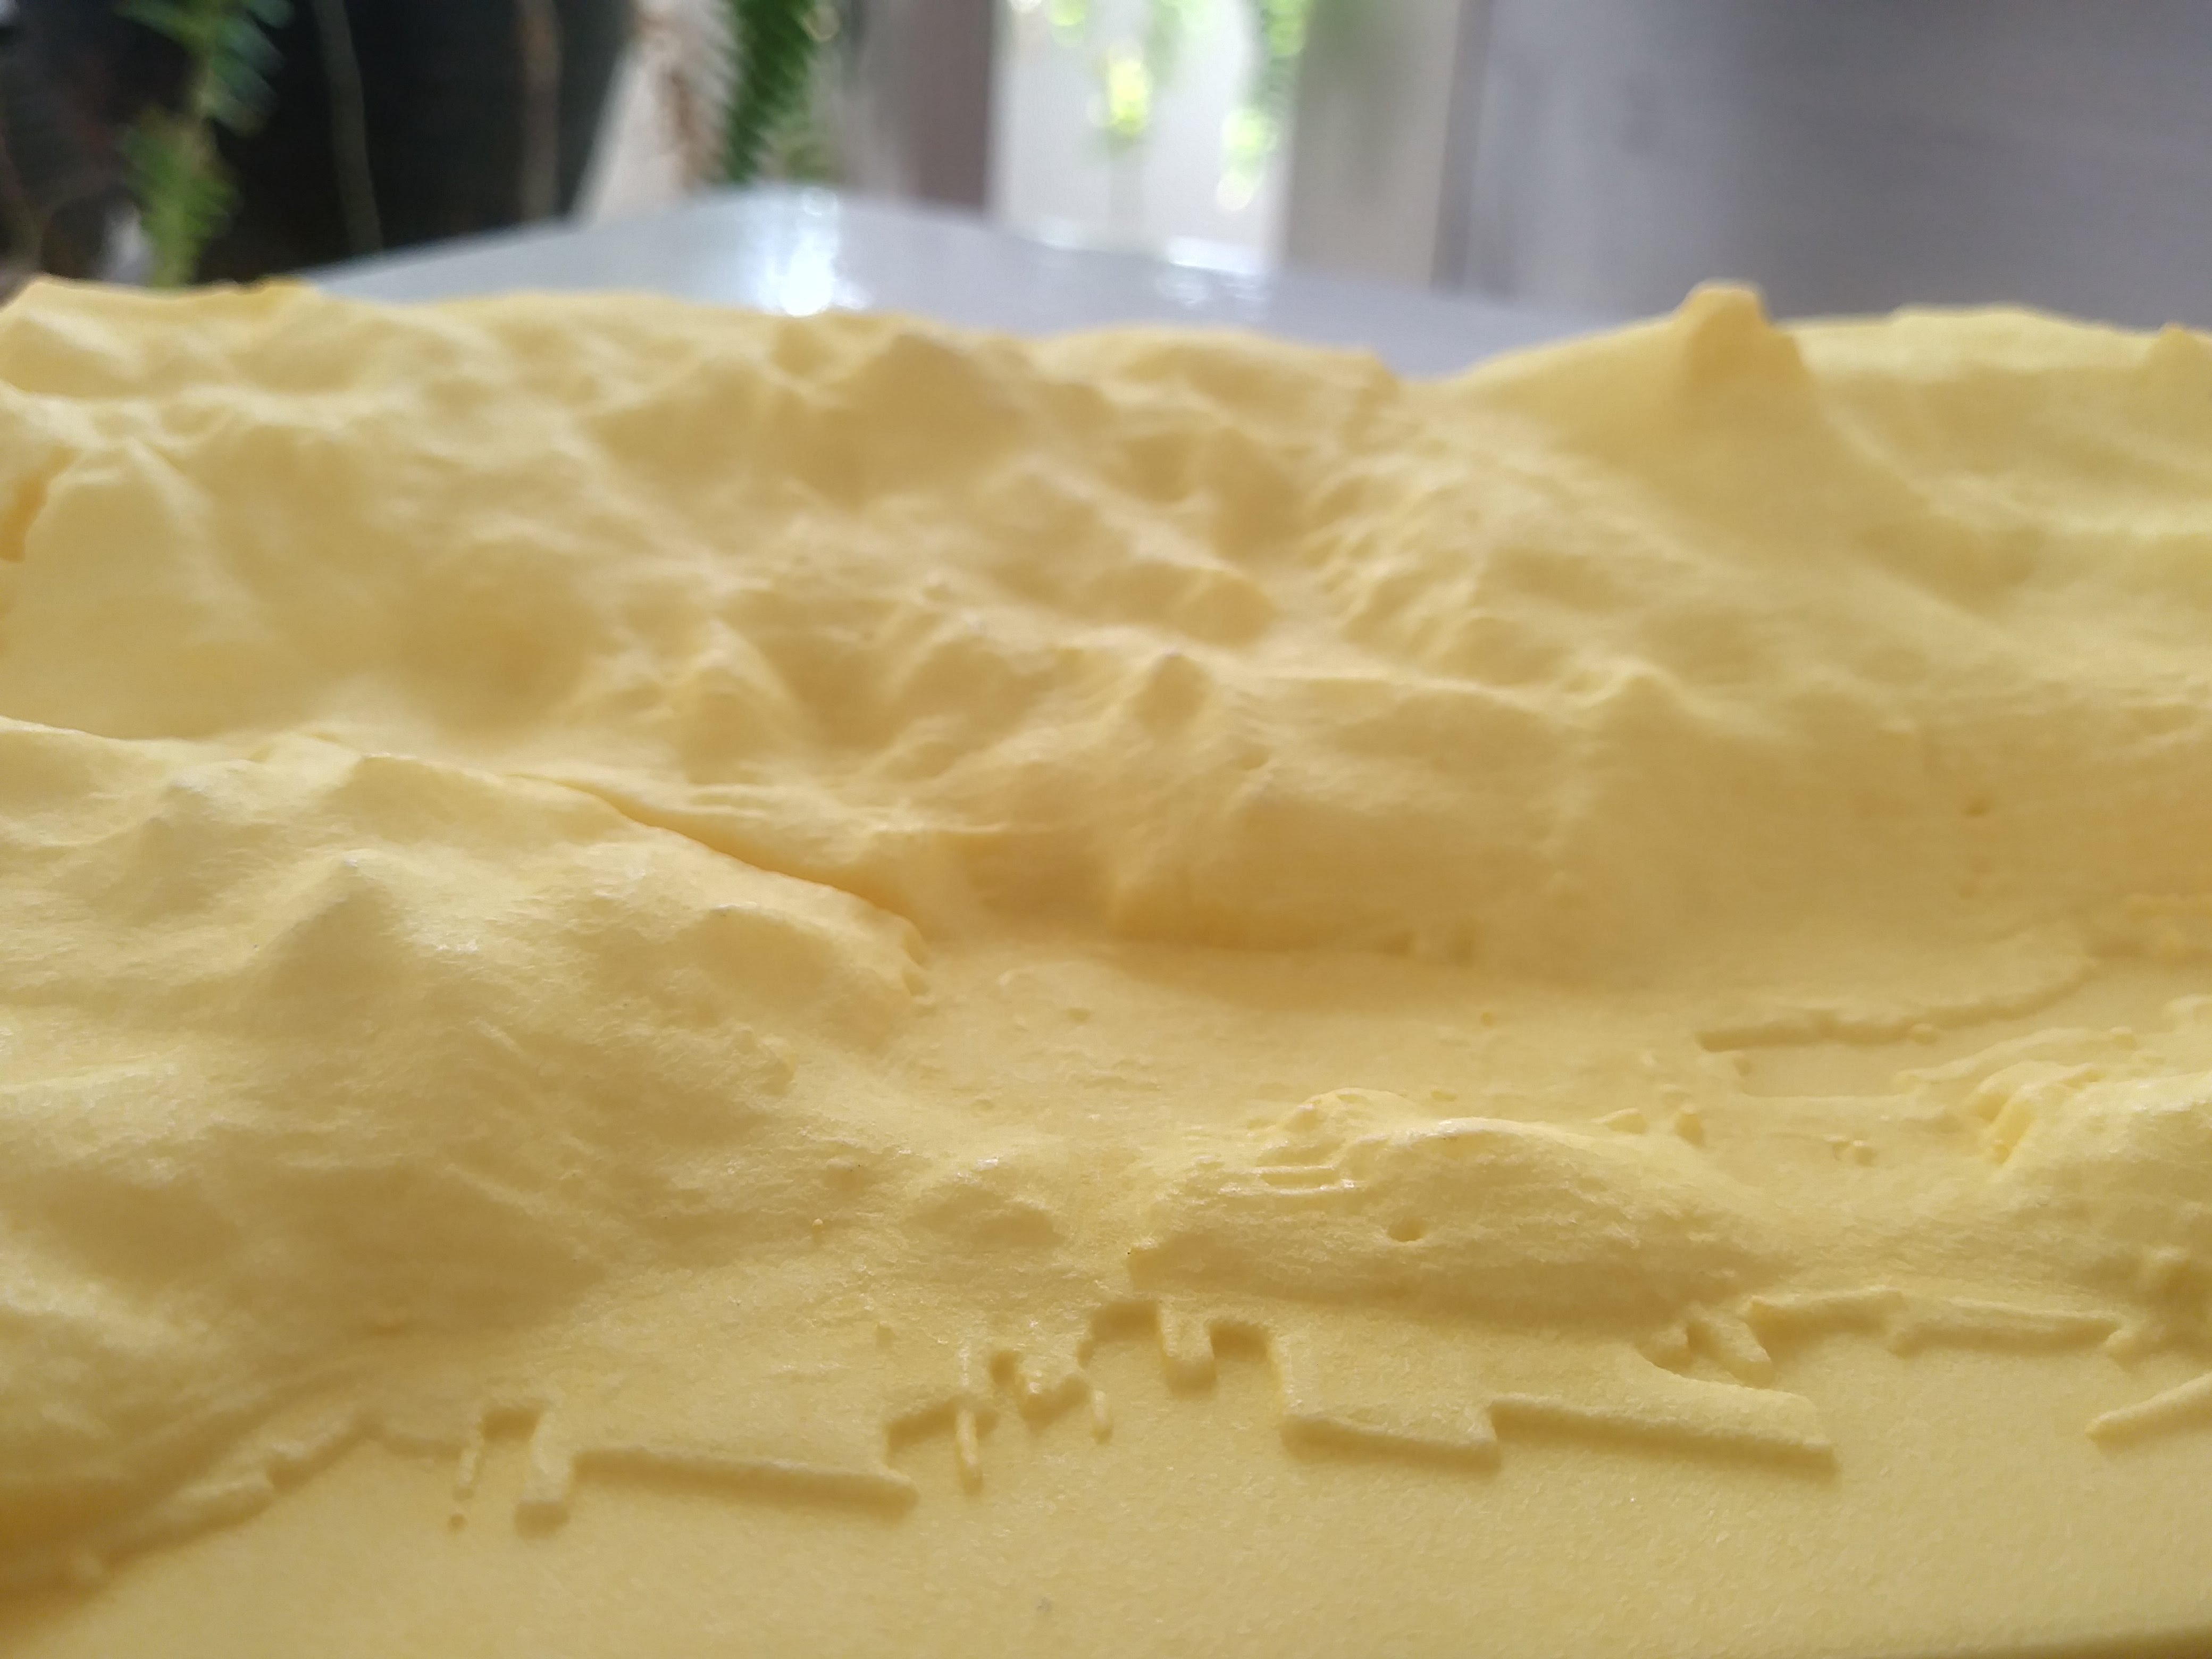
I was very pleased with the end result!
Comments
3 responses to “3D printing!”
Wow! Excellent work!
Thank you!
Impressive and potentially VERY useful !! What a great idea !