Category: Food

Food adventures!

  • Ice cream

    Ice cream

    This recipe makes approximately a liter of ice cream.

    • 1 Can (354ml) evaporated milk
    • 1½ Cup powdered sugar
    • 1 Tsp vanilla (optional)

    Chill the can of evaporated milk along with the mixing bowl in the fridge overnight.

    Pour ingredients in bowl and whip with a hand mixer until thick and foamy, then place the bowl and its contents in the freezer for an hour. Follow this by another round of whipping, then place the bowl again in the freezer until the mixture sets (3 hours).

    This recipe was taken from this video.

    Thoughts

    This recipe nails the texture. I found with vanilla it has more the consistency of soft serve; without like ice cream proper. Both taste great.

  • Baguettes

    Baguettes

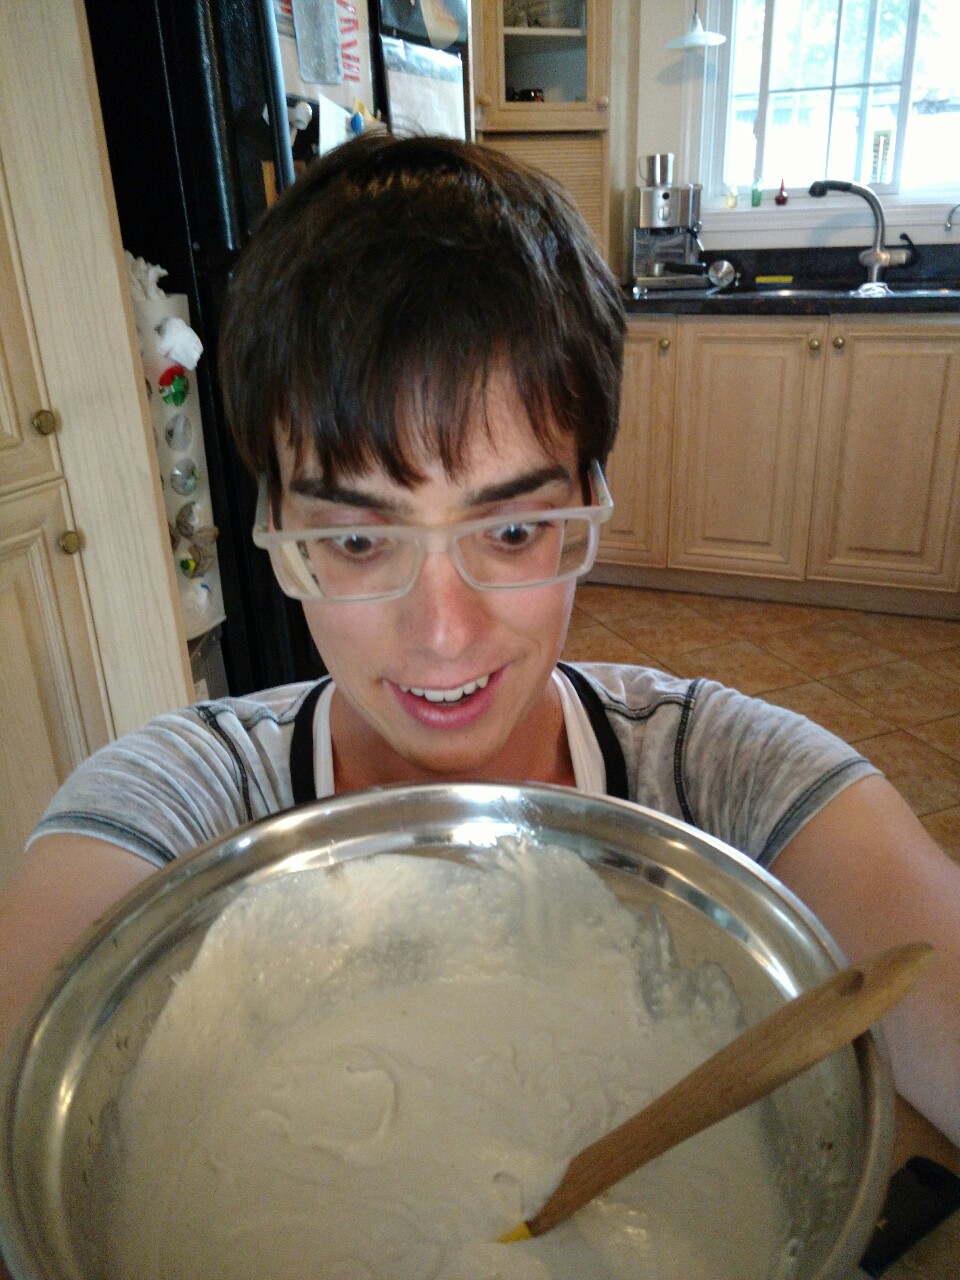
    From 2012-2016 I picked up baking as a hobby. At first it was a screen-free way to relax during my second go at university, and I had fun improvising. I may have picked up the bug again: here’s a recipe for French baguettes, taken from this video.

    Baguettes

    Makes 3-4 baguettes.

    • 950g flour
    • 2 tsp salt
    • ¾ tsp yeast
    • 730 ml water

    Add salt and mix it, to prevent yeast from making contact. Add yeast. Add water. Mix with the handle of a wooden spoon. Mix until the dough forms into a ball and sticking to the spoon handle and make sure there’s no unmixed flour sticking to the bottom of the bowl. Cover and leave to rise for 8-10 hours at room temp. Longer in cold climates.

    Sprinkle flour on a surface. Use dough scraper to pull dough off of bowl onto the surface, making sure not to push it as it would lose some of the air inside. With the dough on the surface, sprinkle more flour on top of the ball. Make sure dough is not sticking to surface by scraping the dough scraper underneath, pushing flour under. Form into an elongated shape. Cut in 3 or 4 sections.

    Take each piece, dip in the flour of the surface, and put on a lined baking grill. Take care not to press the dough. Can scour with knife at 45º, cutting in long diagonals.

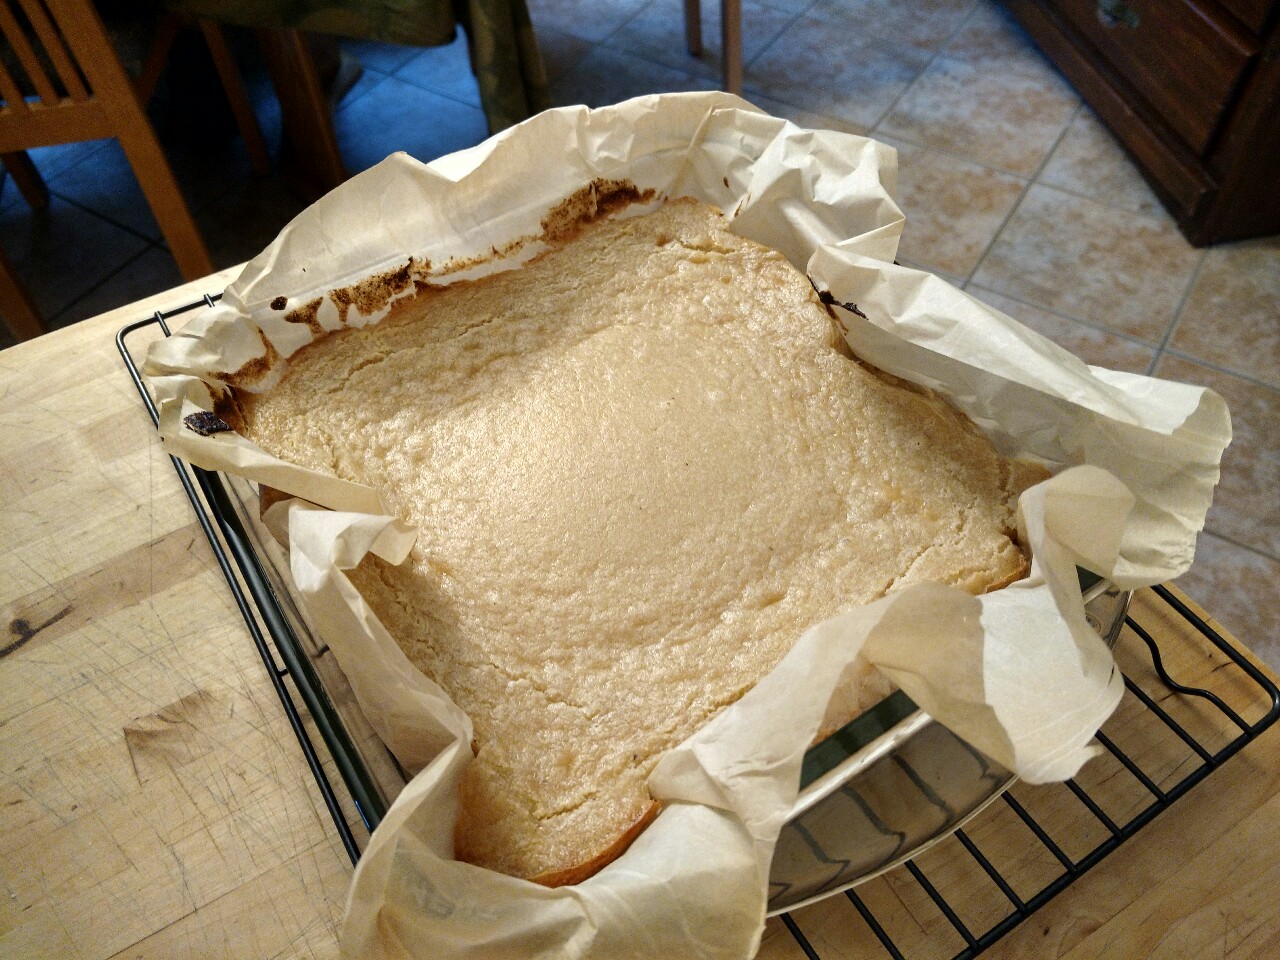
    Put in oven at 480ºF/250ºC for 25 min on bottom rack. Let rest a few minutes.

    Thoughts

    This recipe produces the crisp exterior, soft interior, and large air bubbles of a proper baguette. The taste is yeast-y; substituting fresh yeast improves the flavour a bit but it’s no sourdough. Still the best bread recipe I’ve tried to date.

  • Vegan Cookie Cats

    Vegan Cookie Cats

    Steven Universe, the wonderfully queer animated show, features a fictitious ice cream sandwich treat called Cookie Cat (shown below.) I attempted to make them. The result was pretty well received. This is how I went about it.

    Making a Cookie Cat Cookie Cutter

    First I needed a Cookie Cat shaped cookie cutter. I bought a large round cookie cutter for a dollar, then took pliers to them to shape them into the Cookie Cat shape.

    Making the Cookie Cats

    Then I needed a vegan ice cream sandwich recipe. I went with this one from So Delicious, doubling the amounts. This recipe makes 18 cookie cats.

    • 1L Vegan Ice Cream
    • 2 Cups Flour
    • 1 Cup Cocoa Powder
    • ½ Tsp Baking Soda
    • 1 Tsp Salt
    • 1 Cup Vegan Butter, Room Temperature
    • ⅔ Cup Sugar
    • 1 Tsp Vanilla
    • 4+ Tbsp Water
    1. In a medium bowl, whisk together the flour, cocoa, baking soda, and salt.
    2. In a large bowl, cream the butter, sugar, and vanilla.
    3. Add ½ cup of the flour mixture to the creamed butter and mix to combine.
    4. Add the rest of the flour mixture to the creamed butter and mix until crumbly.
    5.  Add the water, a table spoon at a time, until the mixture comes together.
    6. Make two balls of dough from the mixture. Wrap them in plastic wrap and refrigerate for an hour.
    7. Preheat the oven to 325 °F.
    8. Take the balls of dough out of the fridge. Place a ball between two sheets of parchment paper. Press them down into a square, then roll them out with a rolling pin until the dough is ⅛ to ¼ inch thick.
    9. Cut out the cookies using the Cookie Cat cookie cutter. Place them on a cookie sheet that’s lined with parchment paper or a silicone mat (eg. silpat).
    10. Bake for 6 minutes.
    11. Roll out the second ball of dough, cut out the cat shaped cookies, and place them on a cooled cookie sheet lined with parchment paper or a silicone mat. Bake them for 6 minutes as well.
    12. Let the cookies cool completely before removing them from the cookie sheet.
    13. Once the cookies have cooled, place a dollop of ice cream between two cookies and sandwich them together to make the cat-shaped treat. I had the side of the cookie that was against the cookie sheet face outwards in the sandwich, as it was flatter and made them look more professional.
    14. Put the individual completed cookies in the freezer as soon as you make them, or otherwise do what I did and work in a garage in -20 °C weather while questioning my life choices. You just don’t want the cookies to melt away like you hopes and dreams. It’s good to line the container you put them in with parchment paper or something, as the cookies might otherwise stick to the bottom of the container.
  • Vegan Gluten-Free Cheesecake

    Vegan Gluten-Free Cheesecake

    I had a guest over this weekend who had a few dietary restrictions, including gluten-free, dairy-free, and vegetarian. I wanted to make a decent dessert for them and came across this recipe.

    It turned out to be the best vegan cheesecake recipe I’ve pulled off.  Don’t expect the same taste as an actual cheesecake, but the taste was pleasant on its own merits and the texture spot on.

    Vegan Gluten-Free Cheesecake (Original)

    Crust

    • ¾ Cup Rolled Oats
    • ¾ Cup Slivered Almonds
    • ¼ Tsp Salt
    • 2 Tbsp Sugar
    • ¼ Cup Coconut Oil, Melted

    Filling

    • 1 Cup Raw Cashews
    • 2 Cans Full-Fat Coconut Milk
    • 8 oz Vegan Cream Cheese
    • 1 Tbsp Cornstarch
    • 1 Tsp Vanilla Extract
    • ⅔ Cup Maple Syrup
    • 1 Tbsp Coconut Oil
    • 1-2 Tbsp Lemon Juice
    • ⅛ Tsp Salt

    Instructions

    1. Refrigerate the cans of coconut milk. I put mine in the freezer for a bit and then put them in the fridge to speed up the process.
    2. Add raw cashews to a bowl and cover with boiling water for at least 1 hour uncovered. Then drain.
    3. Preheat the oven to 350° F.
    4. Line an 8×8 pan with parchment paper.
    5. Add all the crust ingredients to a ziplock bag except for the coconut oil, and roll over with a rolling pin until granular.
    6. Add the coconut oil into the ziplock bag and mix it in by massaging the bag until a loose dough is formed. You should be able to squeeze the mixture between your fingers and for a dough to form, instead for it to crumble. You may need to add more coconut oil.
    7. Place the mixture on the bottom of the pan and spread evenly and pack it down.
    8. Bake for 15 minutes, then bake for another 5-10 minutes at 375° F. The edges should be golden brown, the surface browned just a bit.
    9. Pull from the oven and turn the oven down to 325° F. Let the pan cool slightly.
    10. If the cans of coconut milk are sufficiently cool, a thick cream will form at the top of the can. Extract a cup’s worth of that cream.
    11. Add all the cream (not the coconut milk left in the cans) and the rest filling ingredients to a large mixing bowl.
    12. Mix with an immersion blender until completely smooth.
    13. Pour filling over the crust. Tap the pan to remove air bubbles.
    14. Bake for 50 minutes to 1 hour. It’s ready when the center doesn’t appear liquidy when you jiggle it. The center should only jiggle slightly.
    15. Let rest for 10 minutes, then let cool completely uncovered in a refrigerator to prevent condensation.
    16. Cover and leave in the refrigerator for 5+ hours or overnight.
    17. When ready to serve, lift the cheesecake out of the pan and cut into triangles.


  • Two Mac & Cheese Recipes

    Two Mac & Cheese Recipes

    This weekend I made two macaroni and cheese recipes. They both ended up incredibly delicious. The vegan one is the best vegan variation I’ve ever made, and the goat cheese in the pulled pork version was astounding.

    IMG_20151114_131524

    Pulled Pork Macaroni & Goat Cheese

    Based on this recipe.

    • 3 – 4 lb Boneless pork roast
    • 1½ Cups Water
    • 2 Tsp Seasoned salt
    • 2 Tsp Garlic powder
    • 2 ⅔ Cup Balsamic vinegar
    • 2 Cup Ketchup
    • 1 Cup Packed brown sugar
    • 1 Cup Honey
    • 3 Tbsp Worcestershire sauce
    • 1½ Tsp salt
    • 1 lb Macaronic pasta
    • Crumbled goat cheese
    1. Add the roast to the slow cooker.
    2. Top the roast with the 1½ cups water, 2 tsp salt, and garlic.
    3. Set the slow cooker on low for 10 hours.
    4. Add the balsamic vinegar, ketchup, brown sugar, honey, Worcestershire sauce and salt to a sauce pan.
    5. Bring the sauce pan to a boil over medium heat. Reduce until thick and syrupy.
    6. Drain the juices from the pork roast and shred the pork.
    7. Stir in half the prepared BBQ sauce.
    8. Cook the macaroni according to the directions on the box (boil water, add macaroni and salt, cook until al dente.)
    9. Drain the macaroni. Stir the drained macaroni into the pulled pork BBQ sauce mix.
    10. Add some of the sauce you set aside into the mixture if needed.
    11. Serve with crumbled goat cheese for guests to top their dish with, as well as with the remainder of the BBQ sauce.

    Notes

    The portions for the sauce (what’s pictured and half of what I have here) still makes for an incredible meal. I decided to double the portions though to get closer to the consistency that I had imagined when I was coming up with this dish. The crumbled goat cheese was a win, melting in your mouth.

    IMG_20151114_175723

    Vegan Sriracha Mac and Cheese

    Based on this and this recipe.

    • 1 lb macaroni pasta
    • 3 Tbsp Vegan butter
    • 3 Tbsp Flour
    • 2½ – 3 Cups Almond/soy/rice Milk
    • ½ Tsp Salt
    • ½ Tsp Pepper
    • 1 Tsp Garlic powder
    • 3 – 4 Tbsp Sriracha
    • (Optional) 3 Tbsp Nutritional yeast
    • (Optional) Roasted red peppers, minced.
    1. Prepare macaroni according to directions on the box. Drain and set aside.
    2. In a sauce pan, melt the vegan butter.
    3. Add the flour and whisk until the flour is thoroughly incorporated.
    4. Cook the flour for 1 minute.
    5. Add the milk to the roux, whisking constantly.
    6. Boil the sauce and reduce until thick and syrupy.
    7. Add the salt, pepper, garlic powde, sriracha and nutritional yeast. Mix well.
    8. Add milk if too thick.
    9. Pour cheese sauce into the macaroni pot and mix thoroughly.
    10. Add the minced roasted red peppers if desired.
    11. Serve.

    Notes

    This is the best vegan mac ‘n cheese dish I’ve ever done. Maybe it’s because I don’t have a vitamix, but I never got the cashew-based recipes to have the right texture. This is also the closest I’ve ever gotten to KD, from any attempt, vegan or not.

    IMG_20151114_133425