Category: Food

Food adventures!

  • White Chocolate Bread Pudding

    White Chocolate Bread Pudding

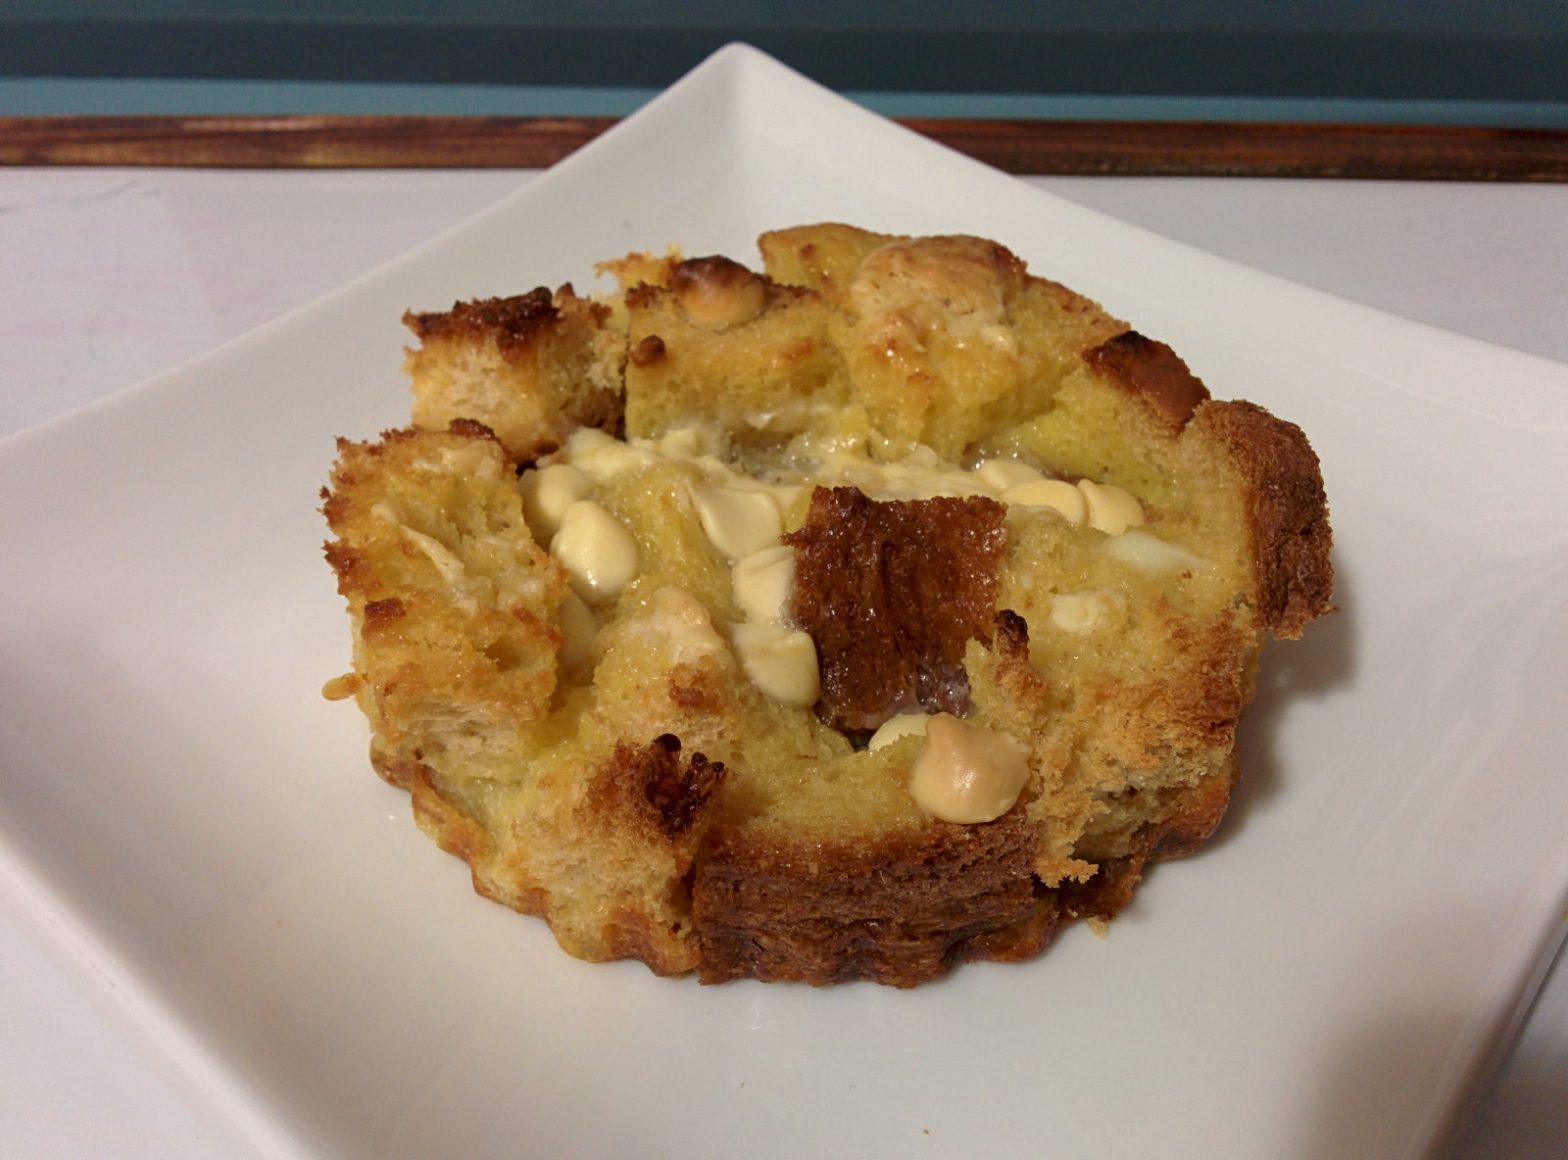
    I had made a sweet maple-infused bread that wasn’t all that spectacular so I decided to turn it into bread pudding! I stole the idea from a bakery up the road that has incredible white chocolate versions.

    White Chocolate Bread Pudding (Original Recipe)

    Makes four 4.5″ tarts. Approximately 500 calories per serving.

    • 4 Stale Slices of Sweet Bread
    • 2 Tbsp Butter
    • 112g White Chocolate Chips
    • 2 Eggs
    • ½ Cup Milk
    • ½ Cup Whipping Cream
    • 3 Tbsp Sugar
    • 3 Tsp Vanilla
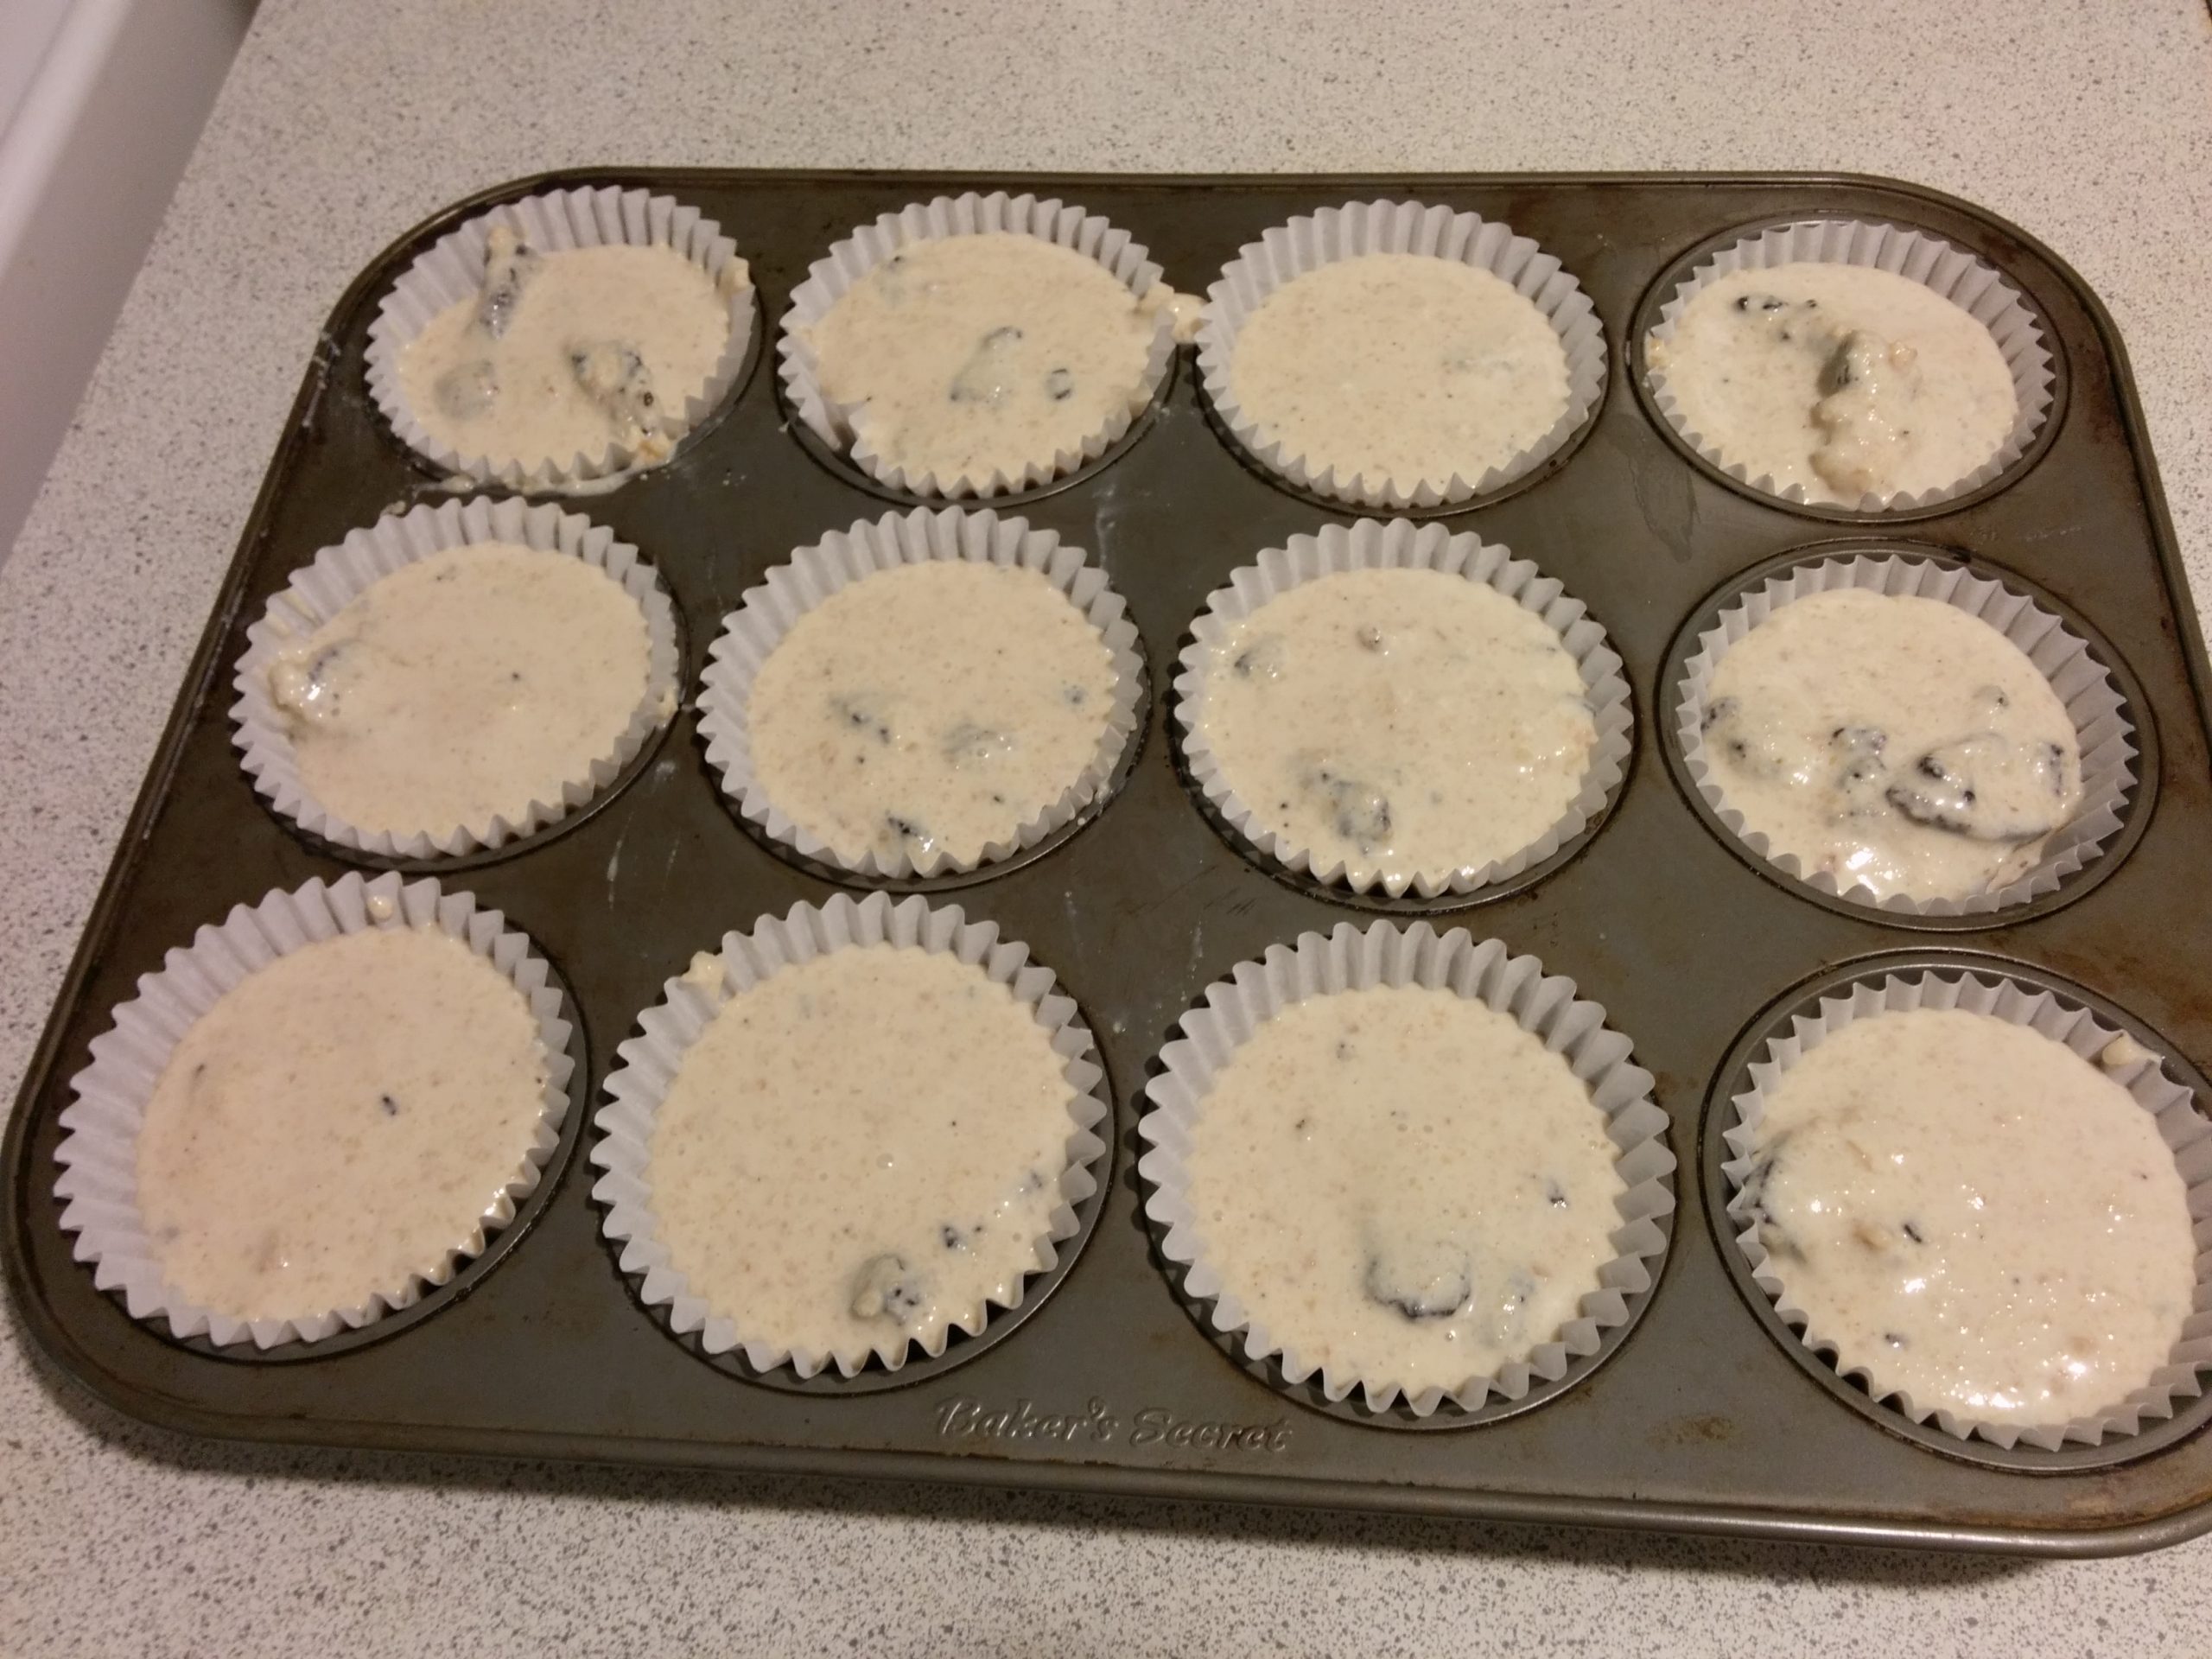
    1. Cut the bread into half-inch cubes and place in four 4.5″ tart pans. Make sure the bread is more or less level with itself. Protruding pieces will toast when the tarts are baked later on.
    2. Drizzle melted butter on top of the bread.
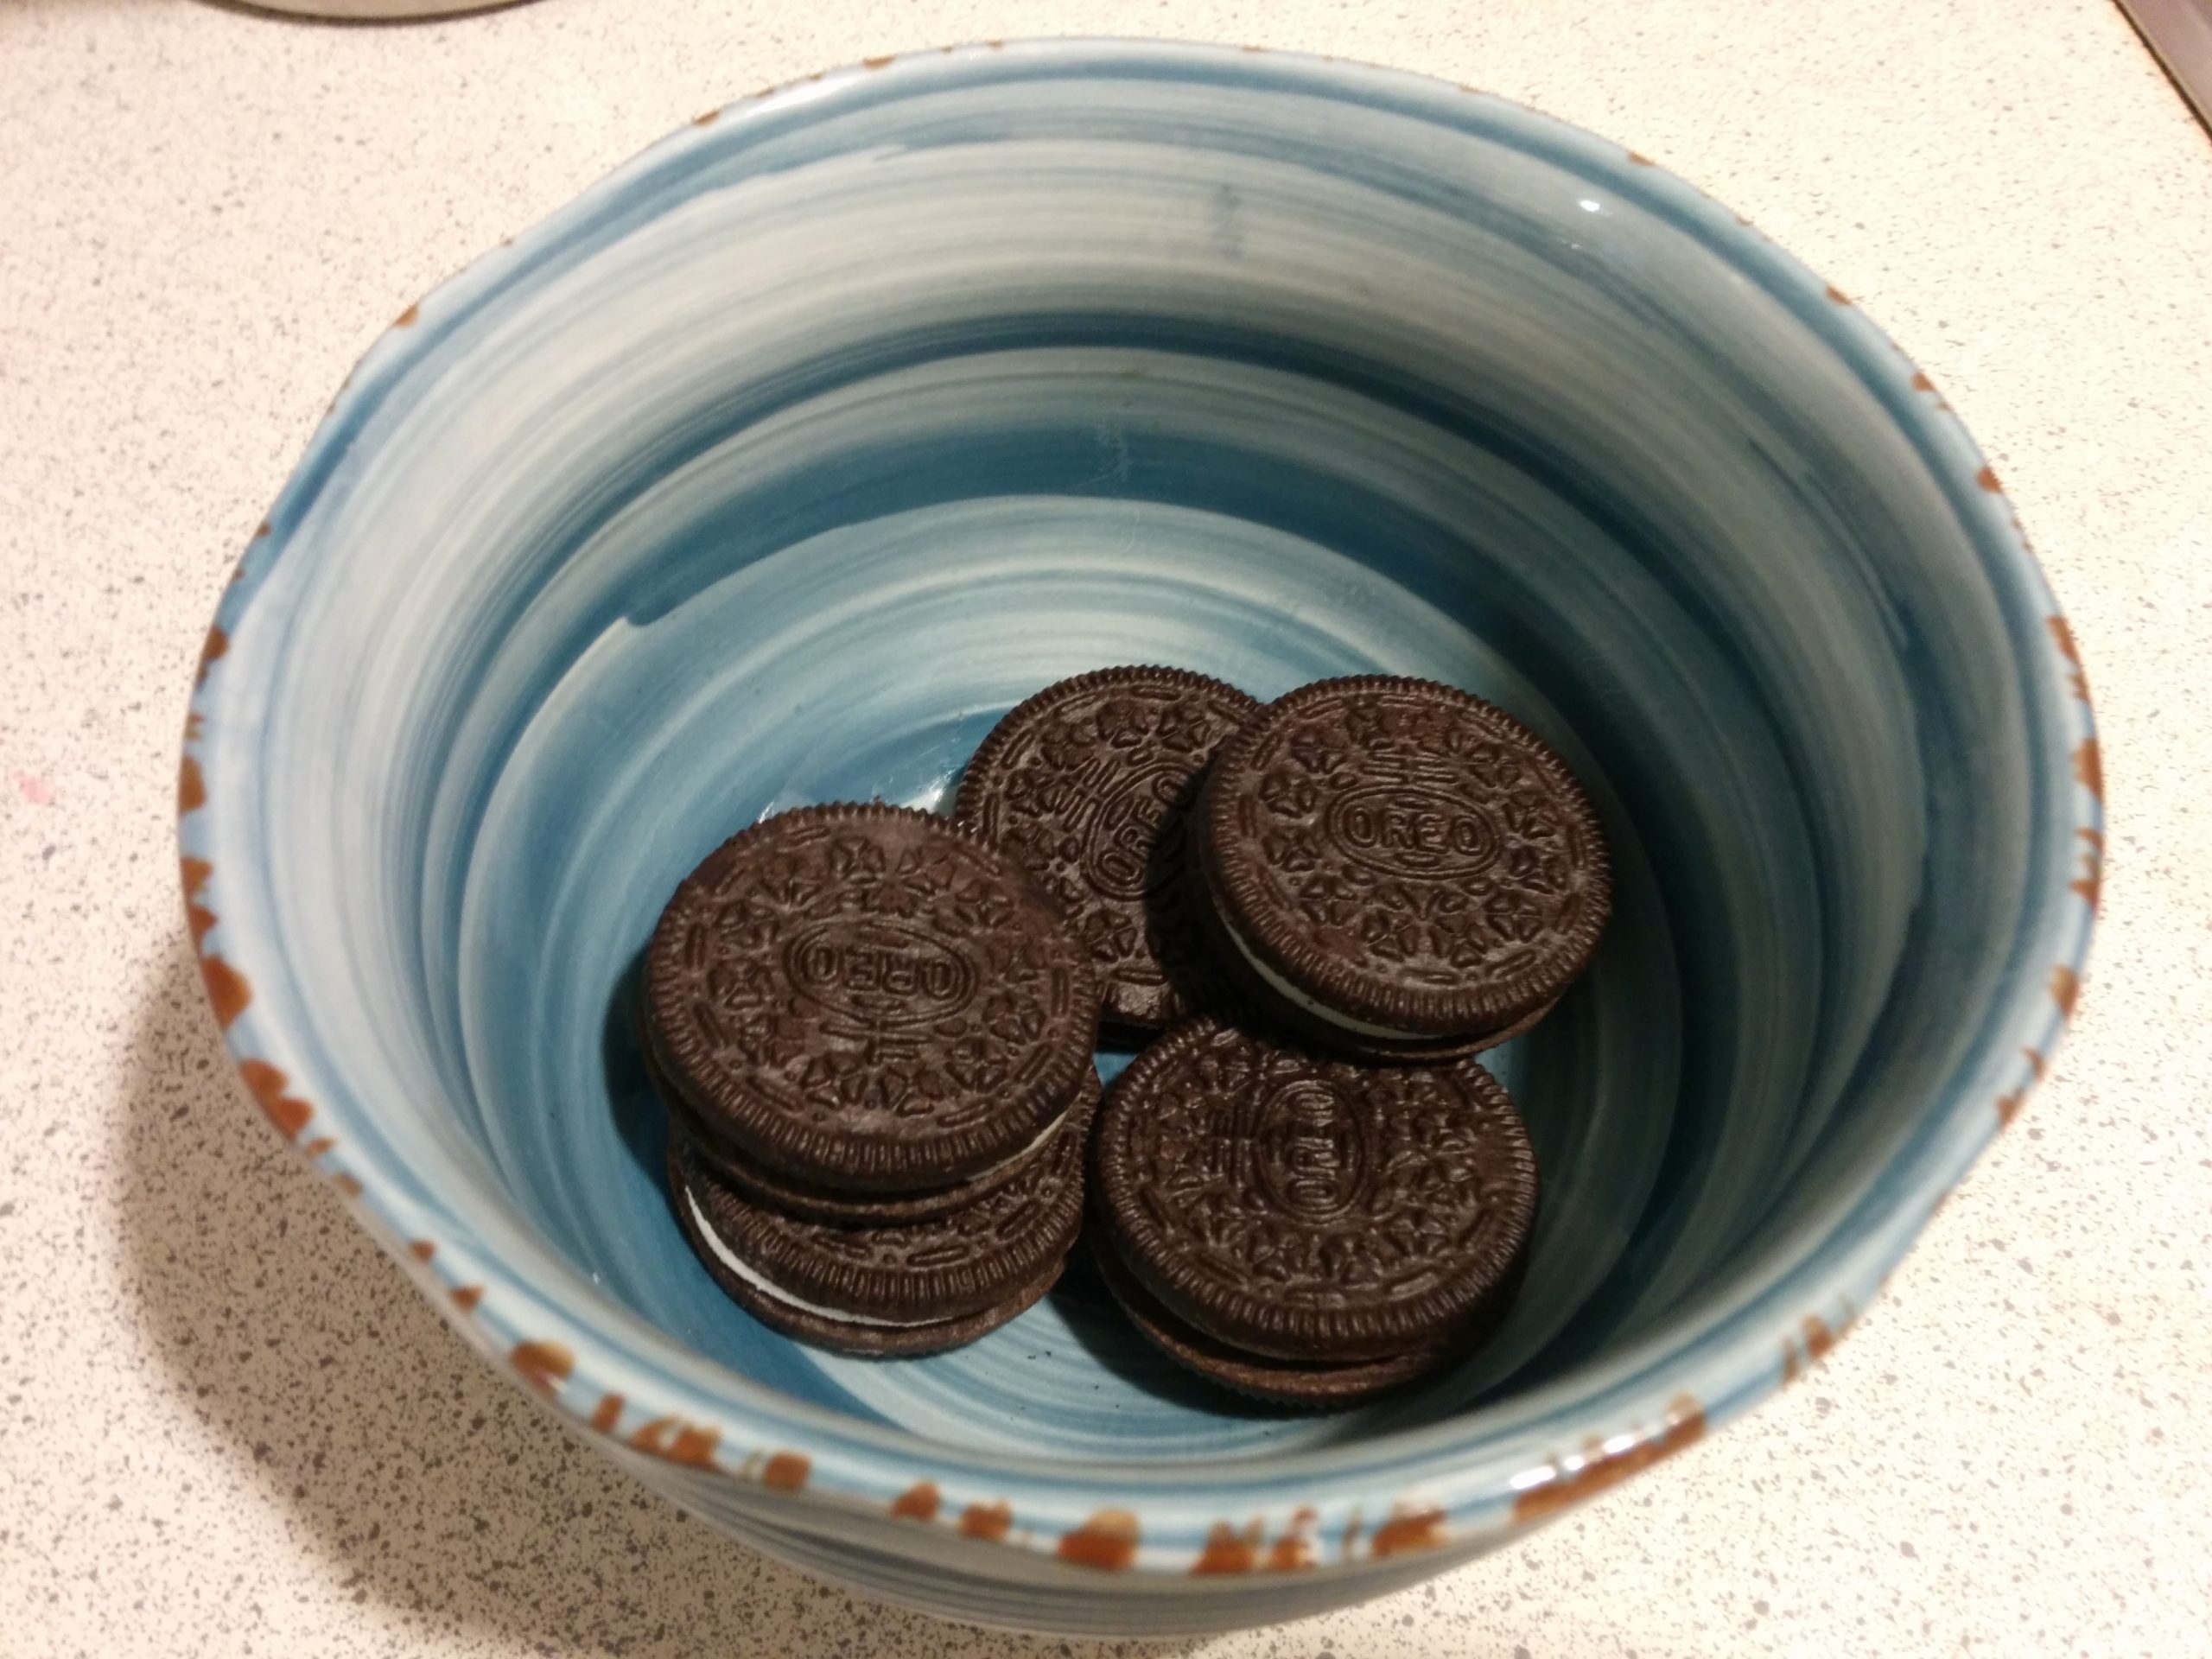
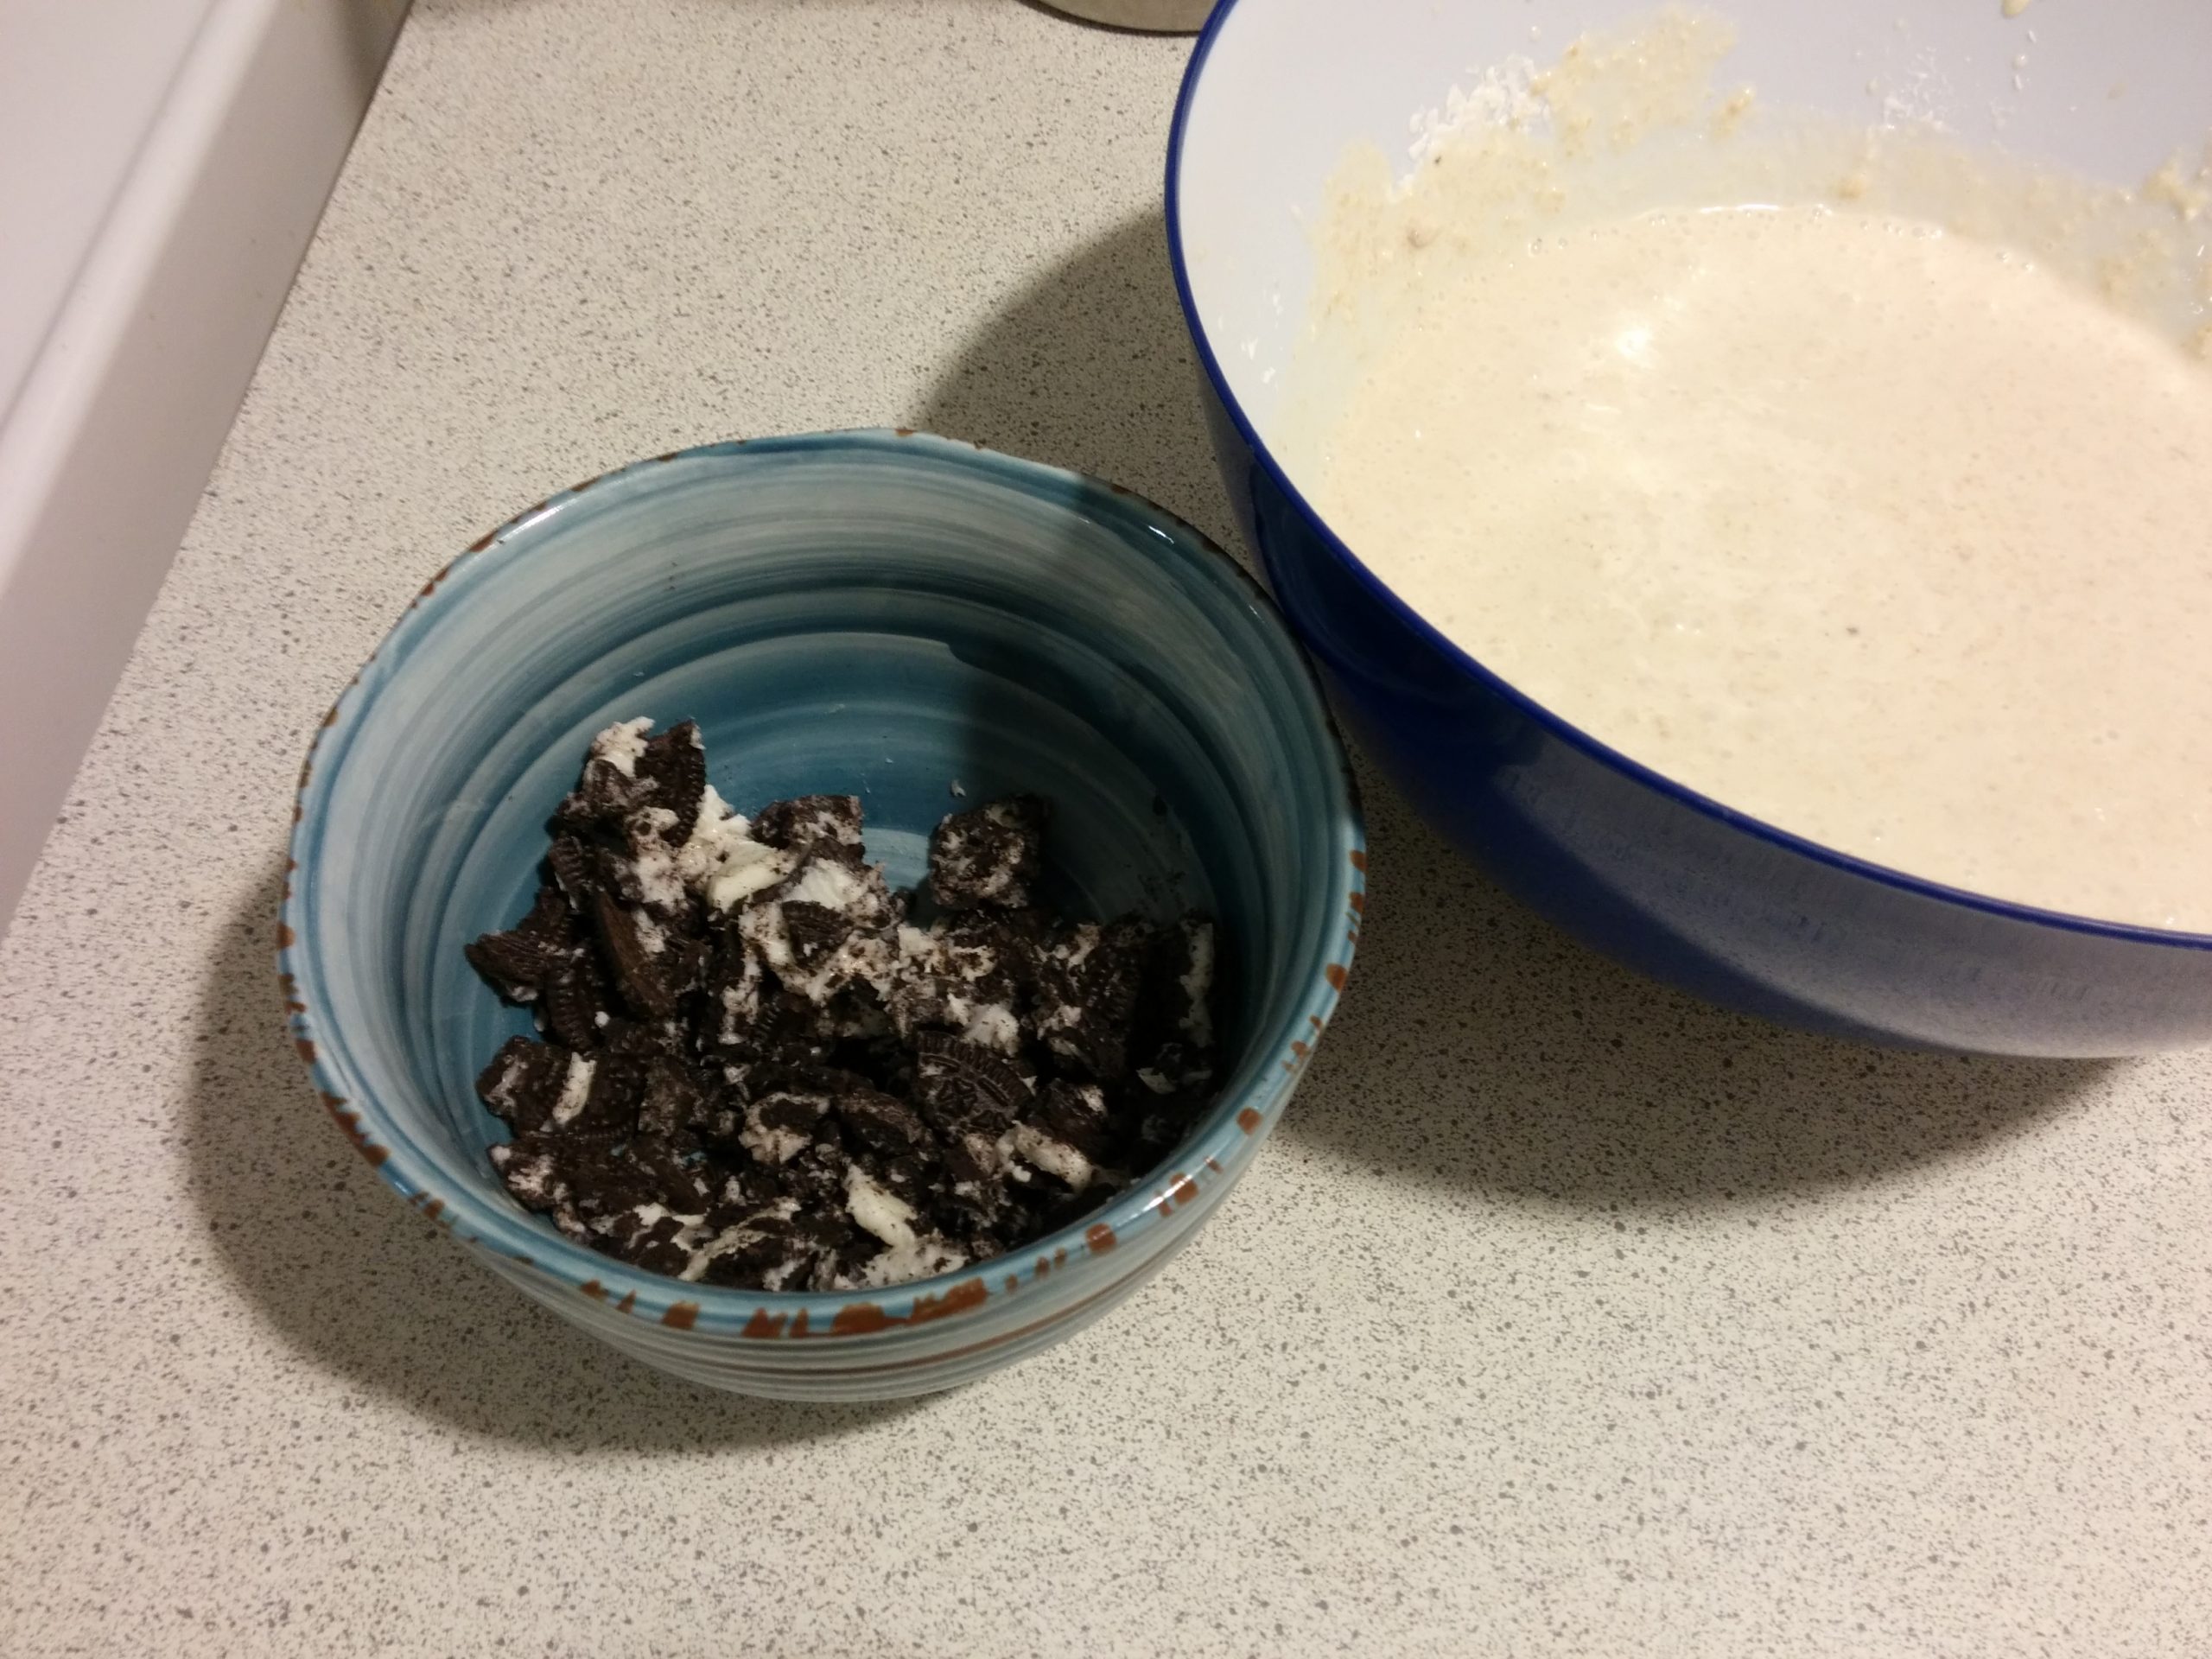
    3. Spread the chocolate chips on top.
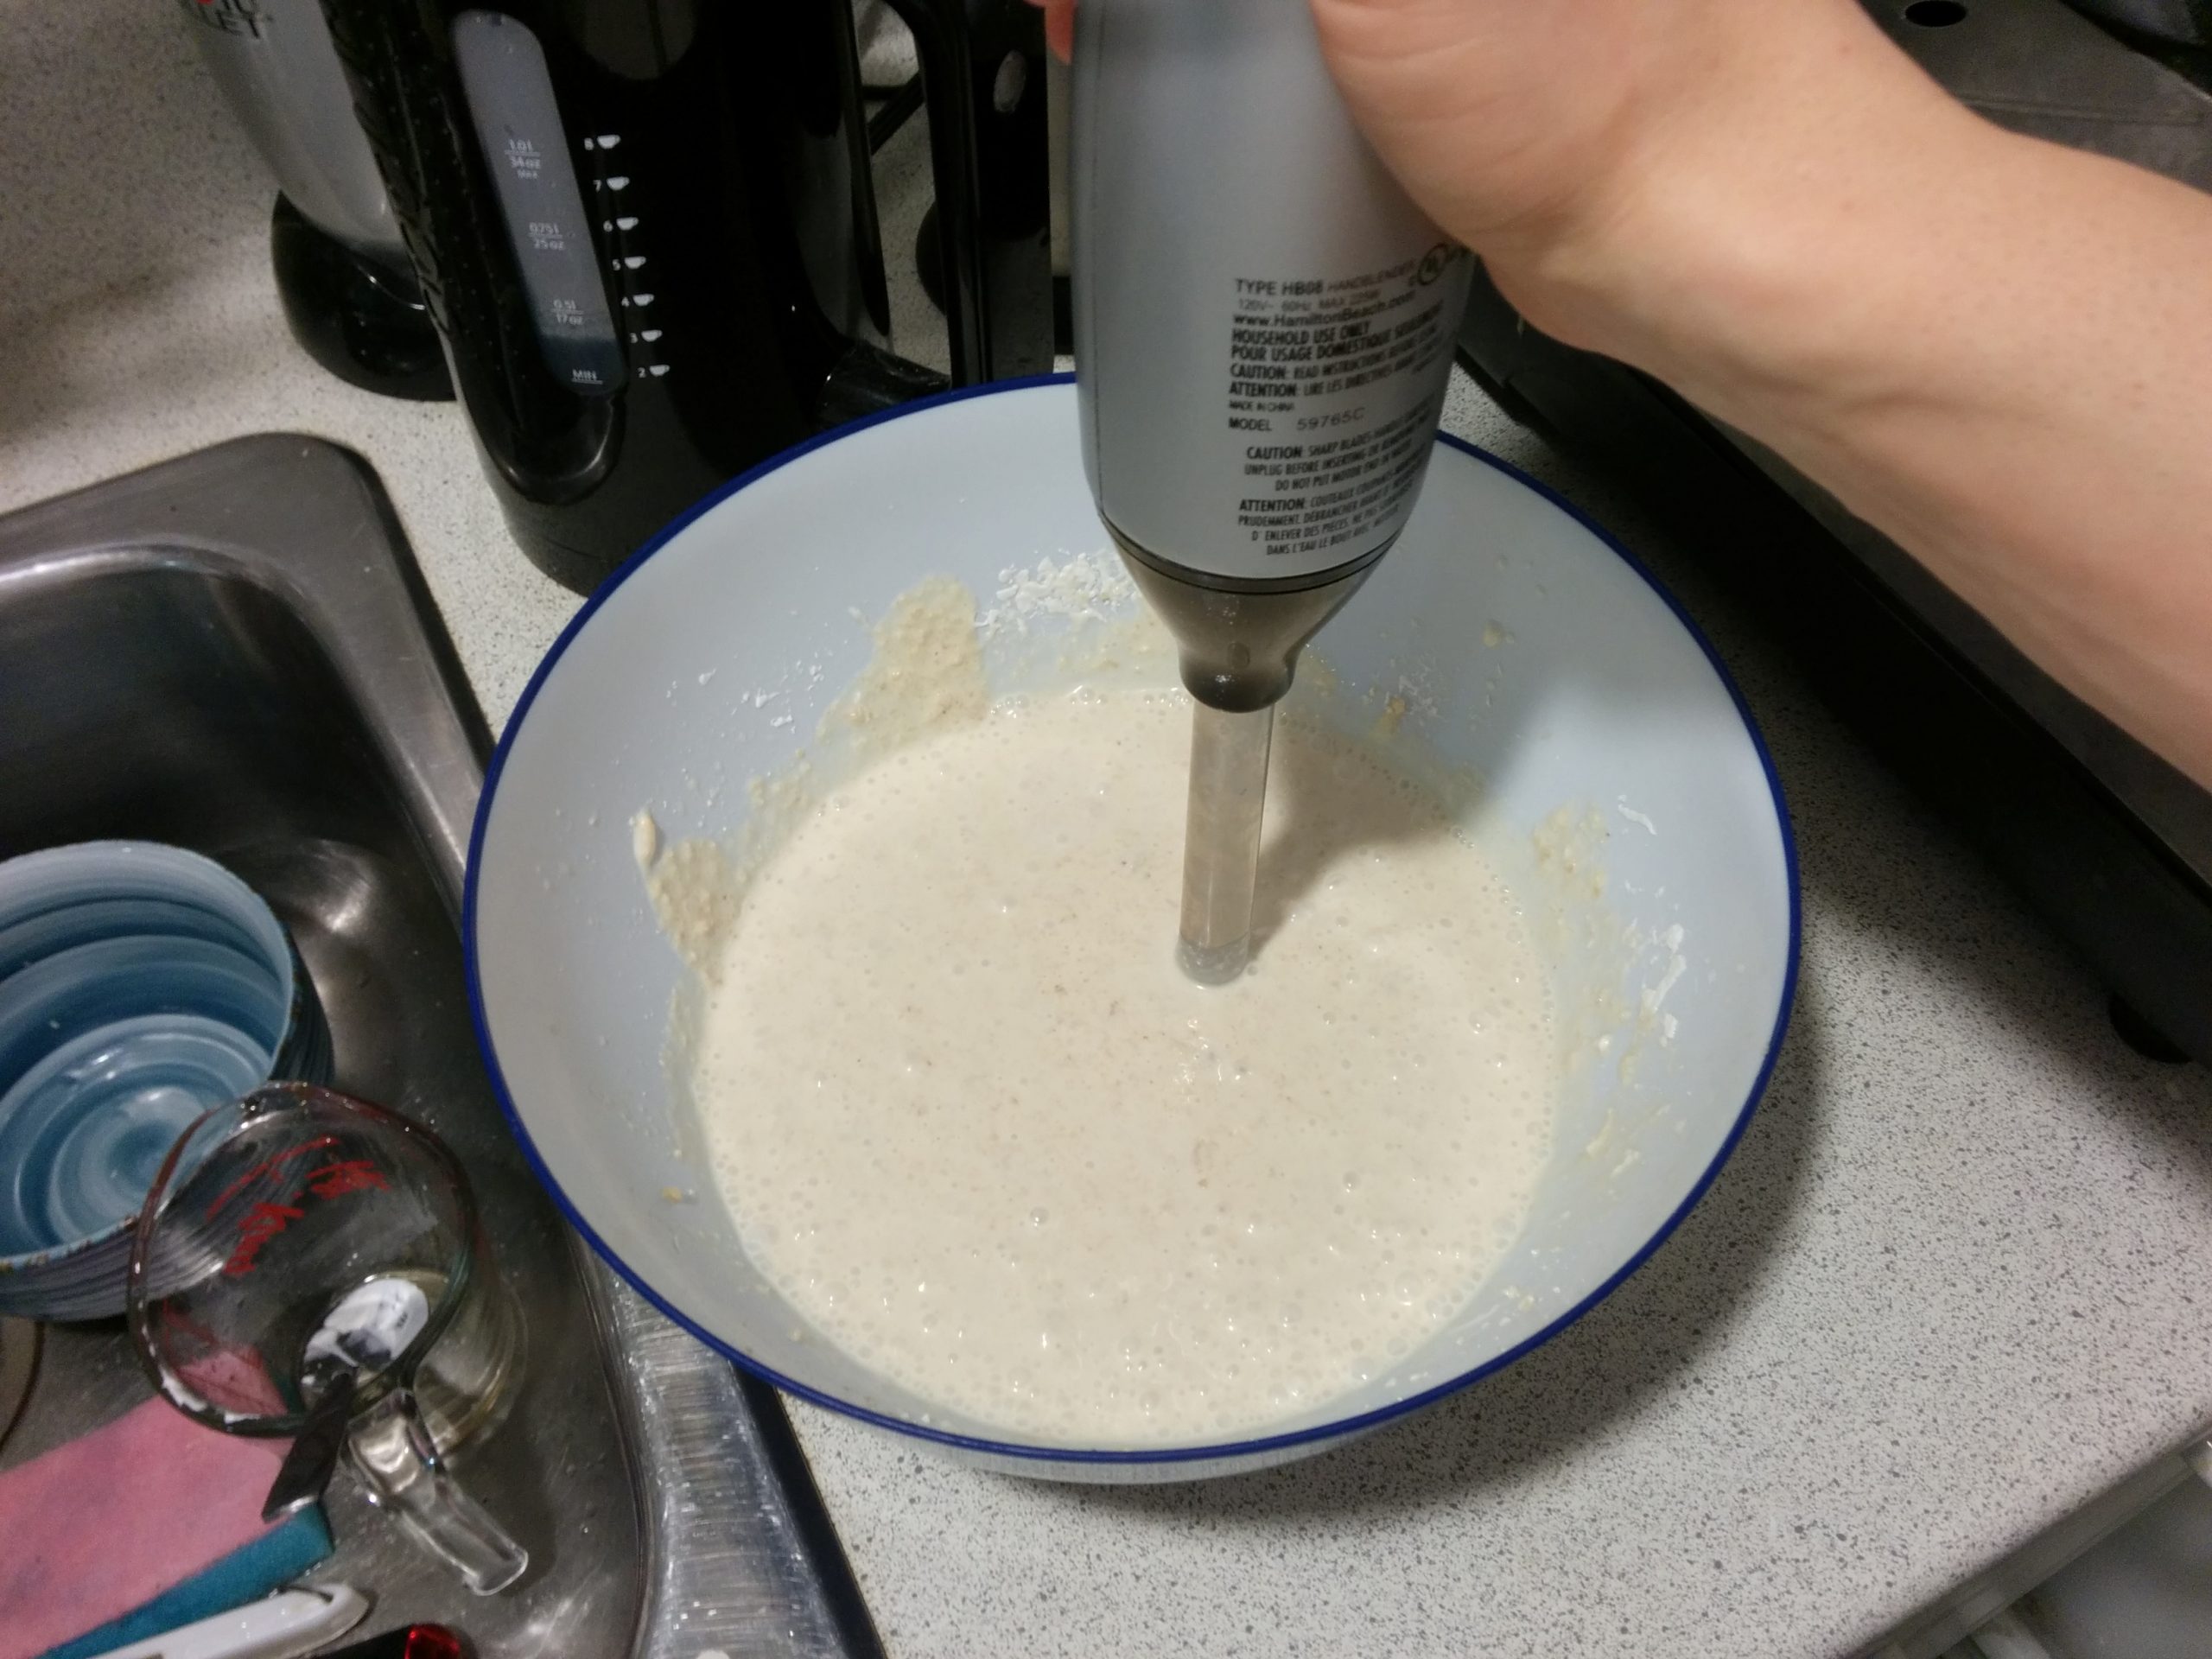
    4. Whisk the eggs in a bowl.
    5. Combine the milk, cream, vanilla, and sugar in a small sauce pan. Stir frequently as you bring to a boil.
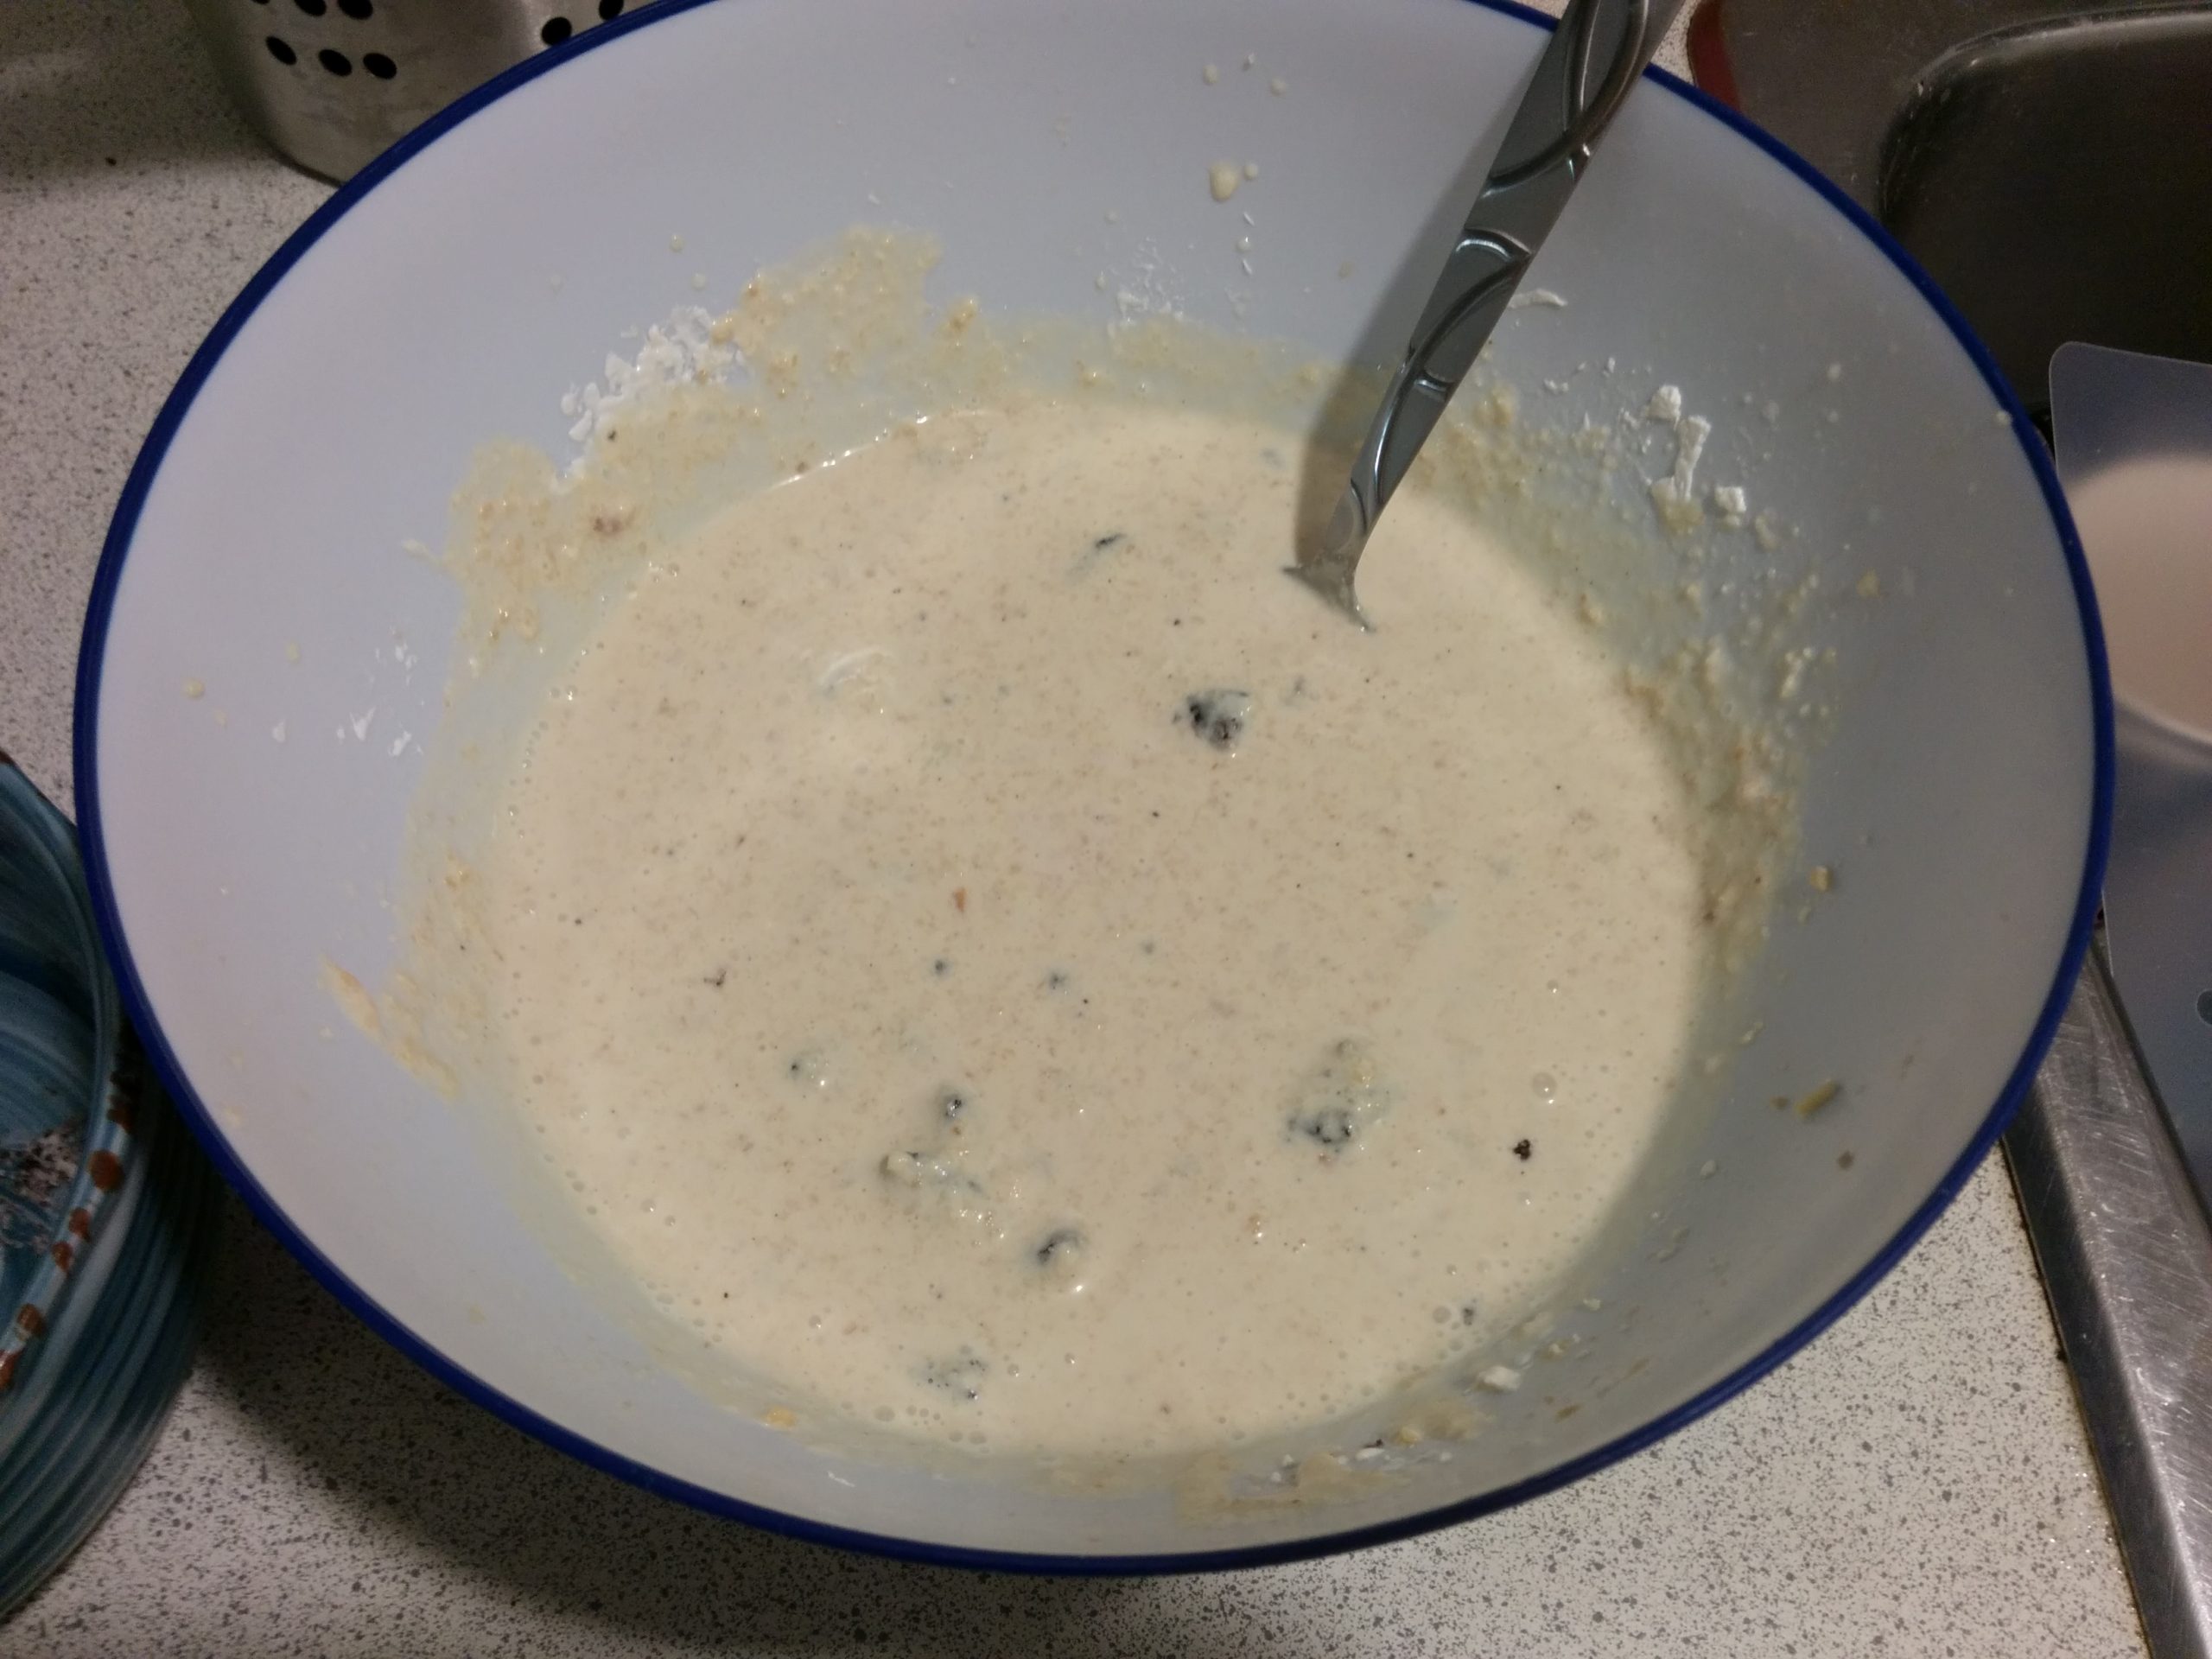
    6. Pour the hot milk mixture into the bowl with the eggs, stirring constantly. Don’t whisk as the custard will foam.
    7. Strain the custard over the egg and chocolate. Let stand for 10 minutes.
    8. Preheat the oven to 325F.
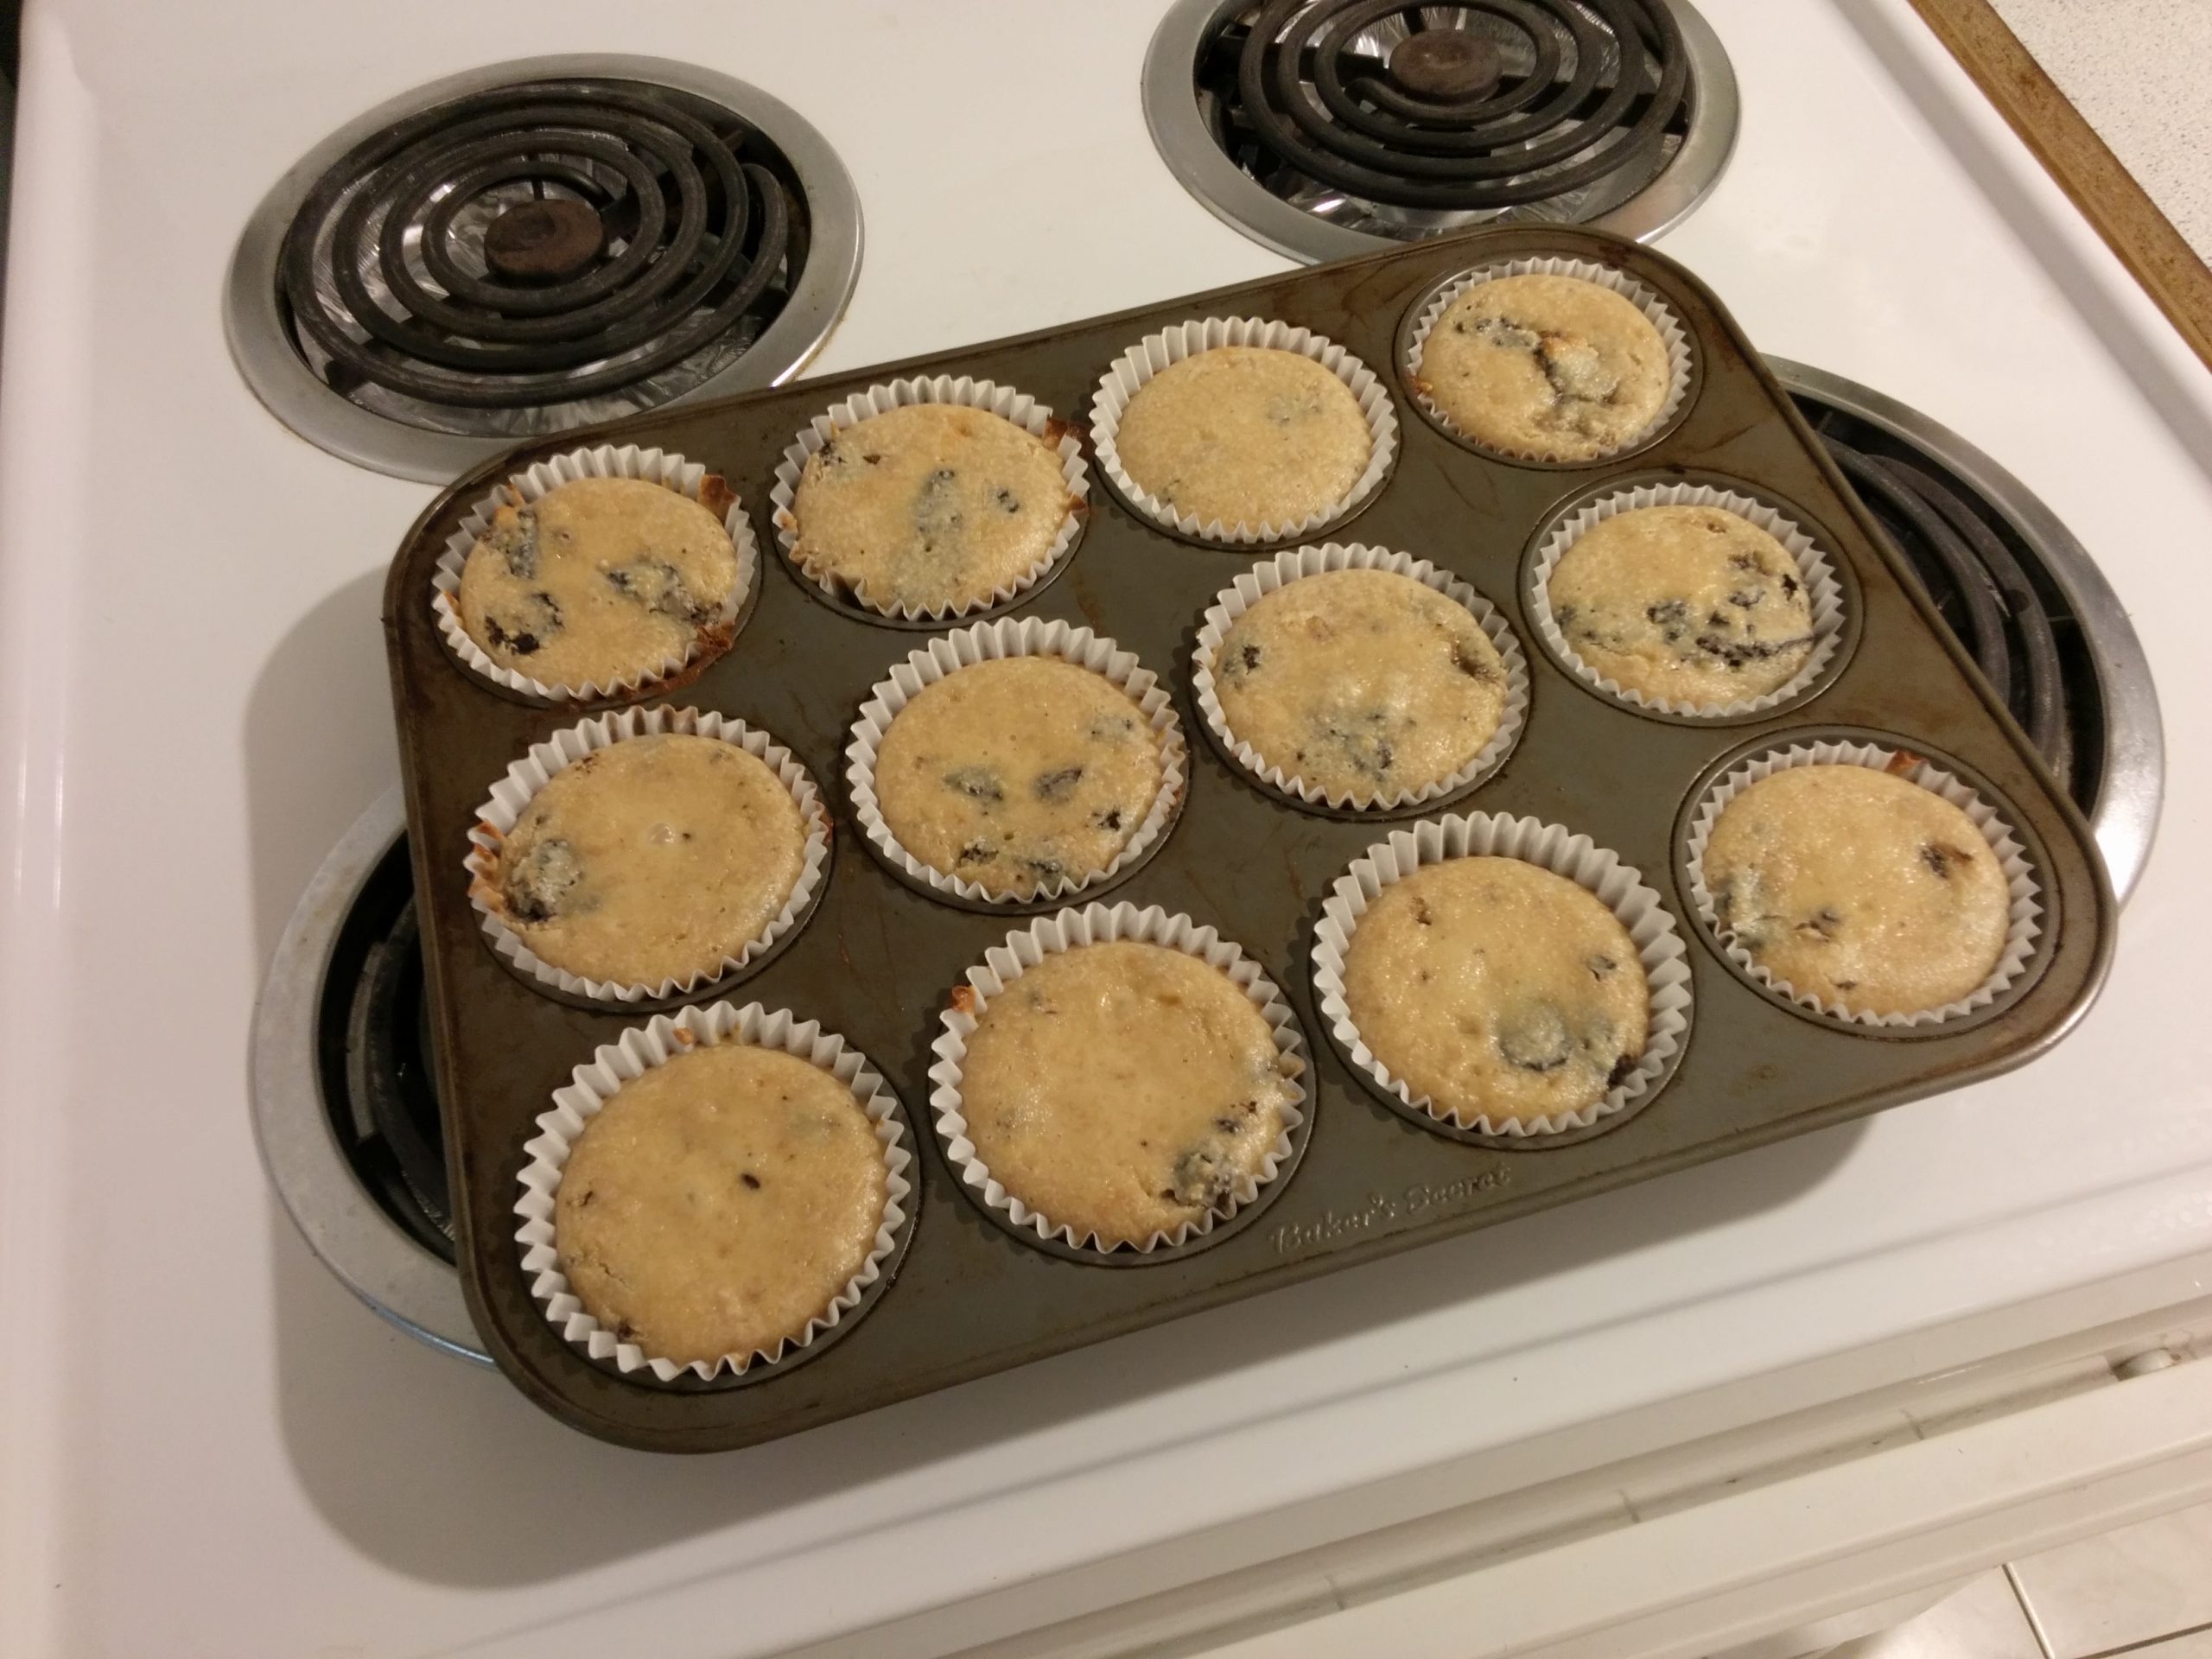
    9. Bake the tarts for 20-25 minutes, or until brown on top.
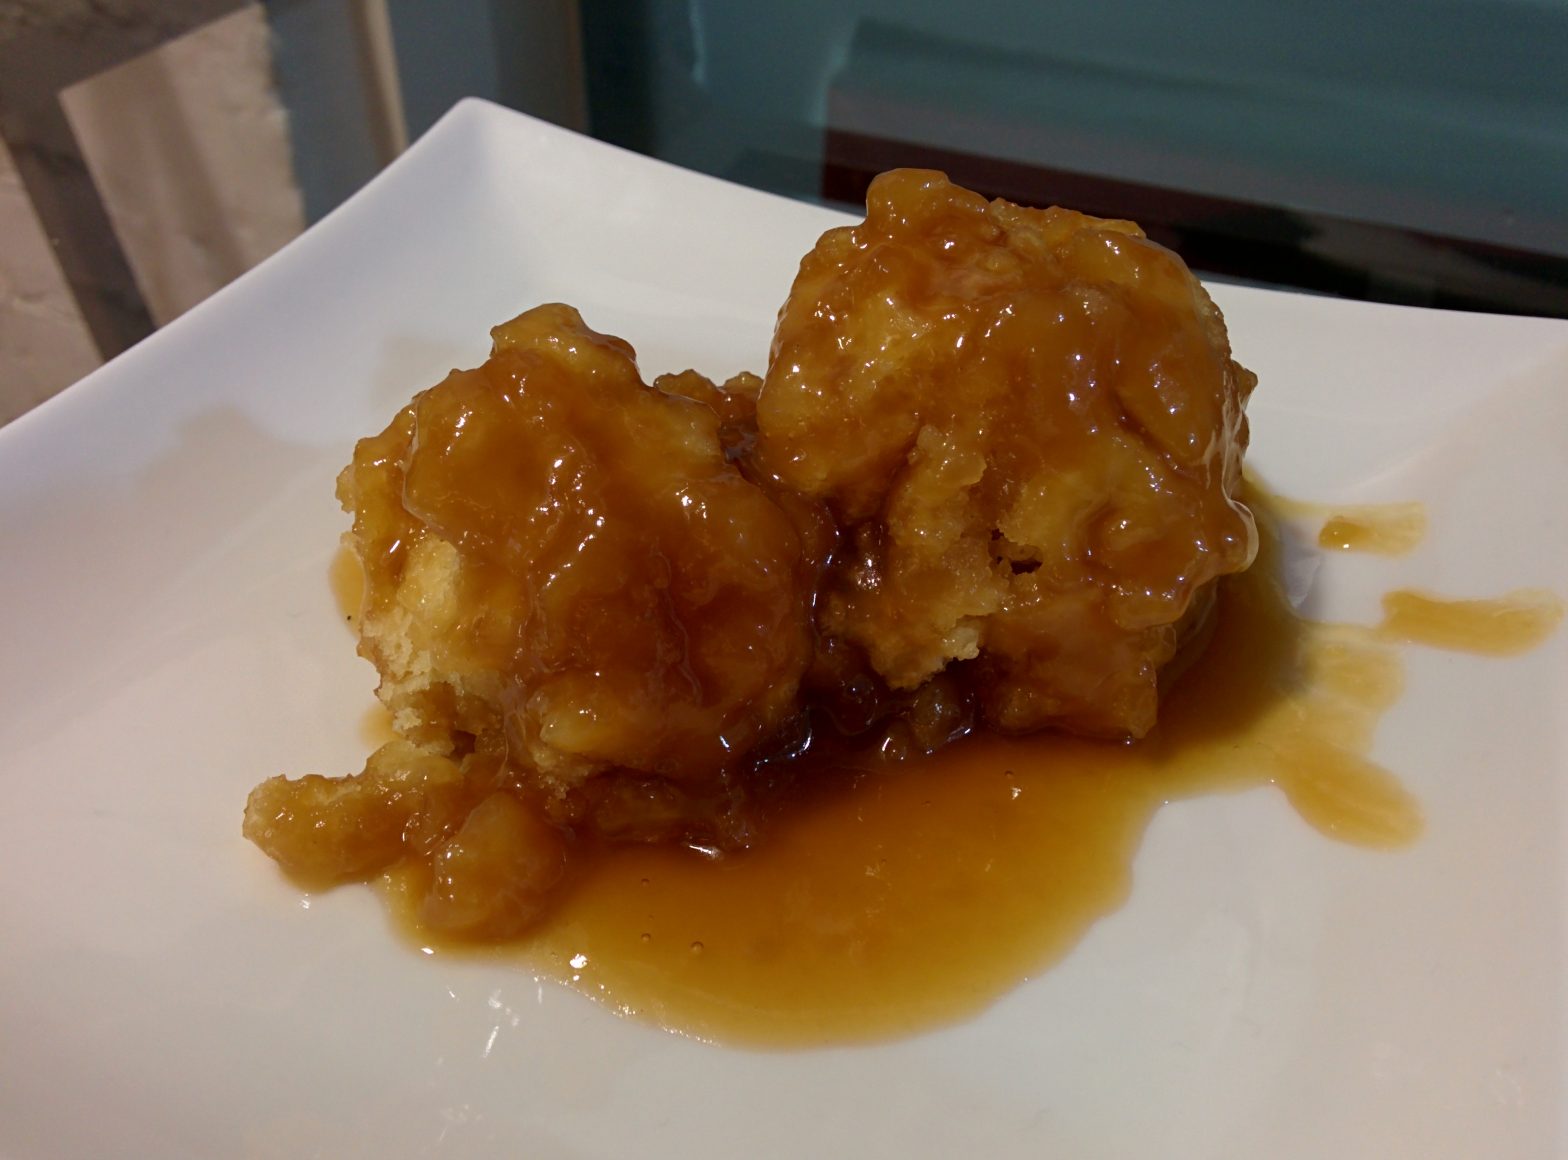
    10. Serve warm.

    If served after the tarts have cooled, throw them in the microwave for 10-15 seconds.

    IMG_20140227_195021b
    IMG_20140227_204551b

    Thoughts

    Delicious. There was a bit of dry toasted bread from where it protruded. I think making sure that the bread was all level with itself would have solved this. I wasn’t sure whether to add more melted butter, but it seemed right by the end. Maybe concentrate more of the hot custard in the center.

    Make sure to microwave if these have sat in the fridge overnight; they don’t taste good cold nor dry.

    Second Attempt Notes

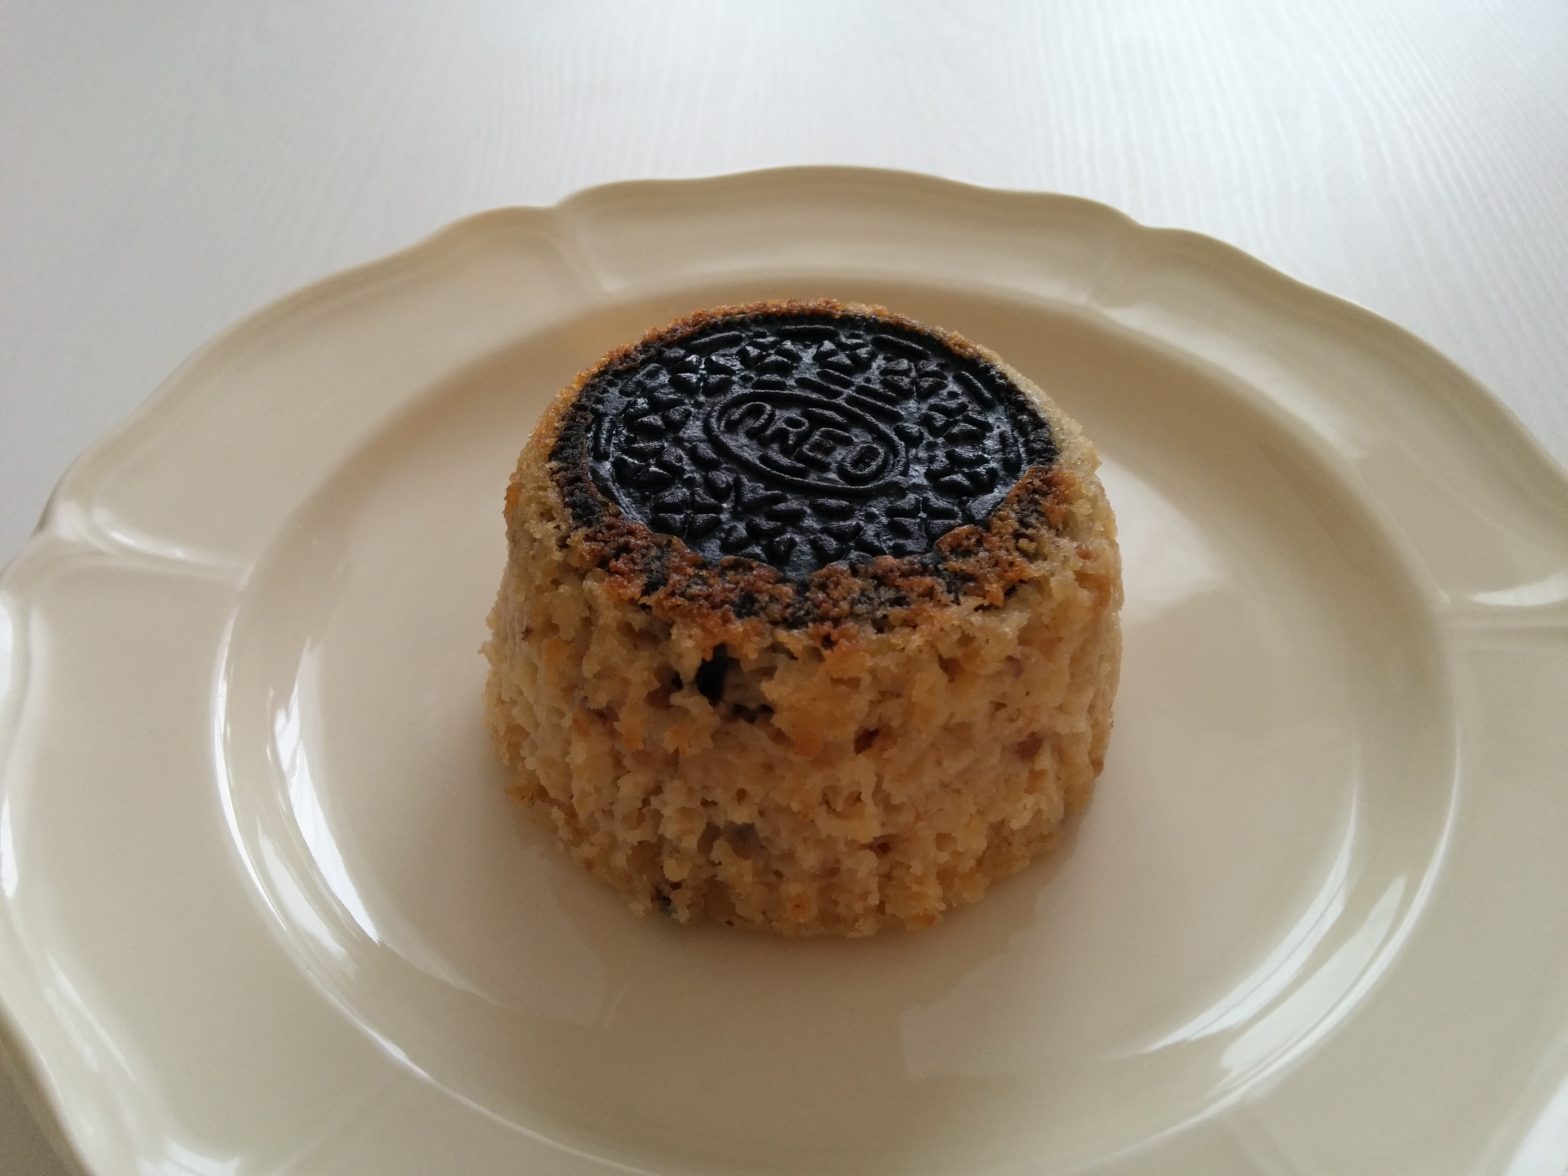
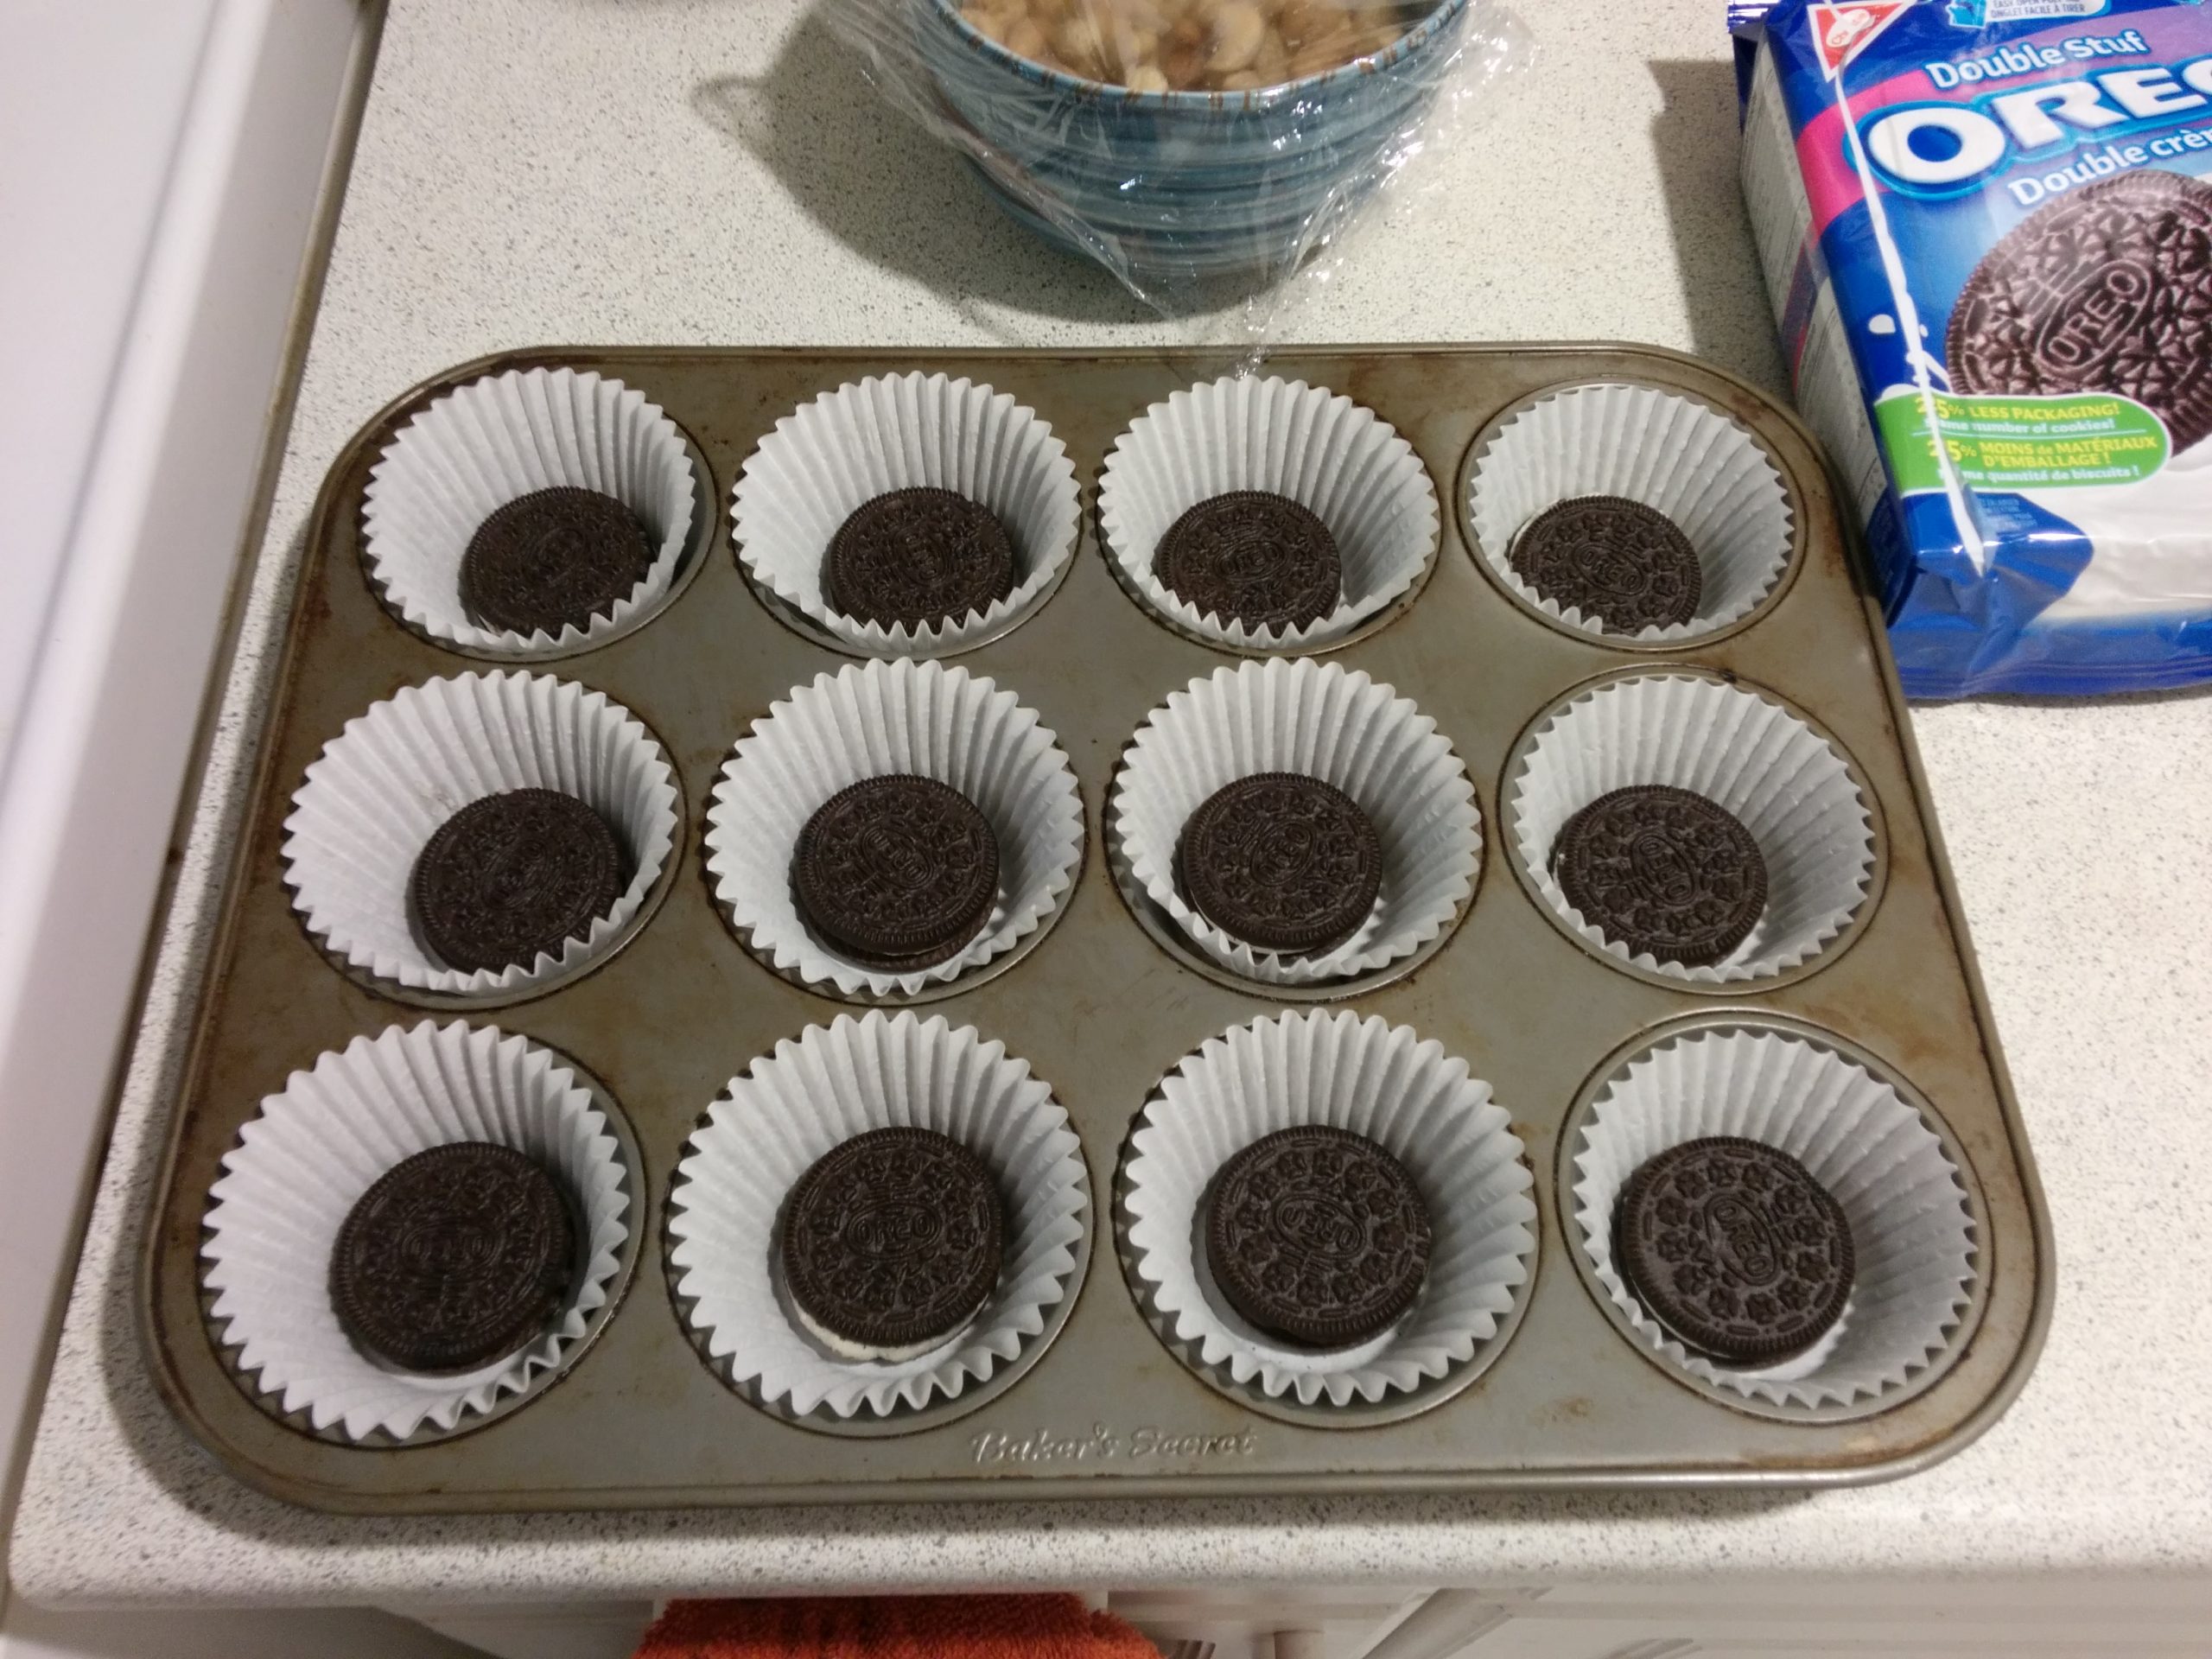
    For the second attempt, instead of cutting up the bread in cubes, I just punched out slices of bread using the tart pans. It made the end result more consistent and more like the products from the bakery up the road. I also cut down the white chocolate chips by half – I think next time I’d go back to the original amount. I used a loaf of my whole wheat bread – I think next time I’d use white bread or something softer.

    IMG_20140323_104523
    IMG_20140323_105634

    Still delicious. This recipe is now one of my favourites.

  • Experimental Baking Fun!

    Experimental Baking Fun!

    I like to make food, especially baked treats. It’s play time. I start off with an idea of what I want the end product to be, then I might grab a base recipe and muck around with the ingredients and process.

    More often than not it doesn’t come out the way I envisioned. If at all! Which is fine, because the fun is from that excitement of trying new things and seeing what ways I can make it better the next time! Also, sugar + butter is usually tasty, irrespective of the outcome.

    I’ve been experimenting with bread. First I wanted one with lots of seeds that looked like one I got at the grocery store.

    I discovered that two tablespoons of sesame seeds to a white bread recipe makes them really savoury. (Recipe: 3 cups unbleached flour, 1 1/4 cup water, 2 tbsp oil, 1 tbsp sugar, 1 tbsp instant yeast, 2 tbsp sesame seeds, 1 tsp salt.)

    Adding a tablespoon of flax seeds and substituting half a cup of the unbleached flour for whole wheat will give it a more distinct look, at the expense of a dryer texture and weaker taste.

    IMG_20140131_221851s

    Next up was maple-flavoured bread. Two attempts, neither of which had a hint of maple – even when I had a third of a cup of maple syrup and 1 tsp of maple extract mixed into the water (Recipe: 3 cups unbleached flour, 1 cup water mixed with 1 tsp maple extract, 1/3 cup maple syrup, 1 tbsp instant yeast, 1 tsp salt.) For my third attempt I’ll up that to 2 tsp of maple extract, add 2 tbsp oil, and cut the salt by half. If that doesn’t work, I’ll make maple bread pudding with it.

    I’ve also been making meals with the bread and playing around there too. The one below worked real well. Sesame bread topped with Greek yoghurt, grilled asparagus, and Italian veggie dogs. Dressed with maple barbecue sauce and pepper.

    IMG_20140217_180000s

    Another thing I tried to make was morning buns like they have at Bridgehead. If you’re not familiar with the concept, they look like cinnamon rolls. Only they’re made of puff pastry (what croissants are made of) and sprinkled with a cinnamon sugar mix instead of a glaze.

    100_2344

    I bought the puff pastry for the first round of experimentation. I found that I couldn’t get them to rise all that well and the end result was under-baked. More tests needed! Still yummy. How can you go wrong with dough loaded in butter.

    IMG_20140208_114740s

    I went back to the tried-and-true vegan cinnamon roll doughnut recipe for a bit more success. Tasty, as ever. It too was the result of playing around.

    IMG_20140211_211721s

    A delicious month indeed.

  • Peanut Butter Cheesecake

    Peanut Butter Cheesecake

    I was asked to make a peanut butter cheesecake for Christmas. I ended up doing one that was a mix of these two recipes.

    Oreo Crust

    • Box of Oreo Cookies (30 Sandwich Cookies)
    • 1 Cup Roasted Peanuts
    • 1/2 Cup Butter
    1. Melt the butter in a sauce pan.
    2. Grind up the peanuts and add to a large bowl.
    3. Add the cookies to the bowl and mash them up.
    4. Add the melted butter and mix it all together.
    5. Place the mixture at the bottom of a 10″ springform pan and pat it down.

    Cheesecake Filling

    • 32 oz Cream Cheese (4 Packages)
    • 5 Eggs
    • 1 1/2 Cups Brown Sugar
    • 1 Cup Peanut Butter
    • 1/2 Cup Whipping Cream
    • 1 Tsp Vanilla Extract
    • 1 Bag Reese’s Minis
    1. Set oven to 275 F.
    2. Cream brown sugar and peanut butter.
    3. Add eggs, vanilla, whipping cream, and cream cheese.
    4. Mix until smooth.
    5. Fold in Reese’s Minis.
    6. Pour filling into prepared crust.
    7. Place the cheesecake in the oven for 1.5 hours.
    8. Turn off the oven, leave the door ajar, and let the cheesecake cool to room temperature.
    9. Place in the refrigerator overnight.
    IMG_20131225_211422

    Thoughts

    This was well received. Even though I didn’t use a water bath, the cake did not crack and in fact was a little too moist in the centre. The crust was edible but hard to cut through in the thicker spots. I’m thinking skipping incorporating the roasted peanuts might help next time. Overall I thought the cheesecake was very good though.

  • Vegan Mini Oreo Cheesecakes (Take Two)

    Vegan Mini Oreo Cheesecakes (Take Two)

    This was my second attempt at making vegan miniature cheesecakes. The first attempt was edible, but the issue was that the top was gum-like, and the whole thing would then deflate in the center as they cooled. I crumbled Oreo cookies into the formed wells to hide the flaw.

    For this attempt, I used another vegan cheesecake recipe as a base. I still went with the Oreo theme, calling upon this recipe for the details.

    Vegan Mini Oreo Cheesecakes

    Makes 12 miniature Oreo cheesecakes.

    You’ll need to start at least seven hours before serving.

    • 1 Cup Cashews
    • 19 Oreos
    • 1/4 Block (4 oz) Firm Tofu
    • 4 oz (115g) Vegan Cream Cheese (half a package)
    • 4 oz (115g) Vegan Sour Cream
    • ⅔ Cup Maple Syrup
    • 1 Tbsp Lemon Juice
    • 1 Tbsp Vanilla Extract
    1. Soak the cashews for two hours.
    2. Set the oven to 350 F.
    3. Place the 12 paper liners in the muffin tin. Put an Oreo cookie at the bottom of each.
    4. Drain the cashews and place in a large bowl. Add the tofu, cream cheese, sour cream, maple syrup, lemon juice and vanilla extract. Blend.
    5. In a small bowl, crunch up 5 Oreo cookies. Fold them into the cheesecake mixture.
    6. Spoon the mixture into the muffin cups.
    7. Bake for 20 minutes.
    8. Pull out from the oven and let cool.
    9. Refrigerate for 4 hours or overnight.
    10. When ready to serve, discard the paper liners and serve cookie side up.
    IMG_20131201_151137

    Thoughts

    A definite improvement over the previous attempt. Whereas I wouldn’t suggest others repeat the other mini Oreo cheesecake recipe I put together, I would be comfortable recommending this one.

    That said, it has a flavour and texture onto its own which is distinct from a real cheesecake. It’s a bit more cake-like. Moving forward I think I’ll keep experimenting and see if there are other recipes for a cheesecake filling that are better. Perhaps this one is worth a shot. Or this one. I also won’t fold in crumbled cookies on the next attempt, to make the insides a uniform white look.

    This is a good little treat, and perhaps calling them “Miniature Oreo Cakes” without referencing cheese would be better.

  • Grand-pères au caramel (Grandfather Dumplings)

    Grand-pères au caramel (Grandfather Dumplings)

    I’ve been looking for traditional French-Canadian recipes. I grew up with a few that are delicious and yet completely unknown outside this culture. Wondering what else I was missing out on, I decided to look up more recipes that might not have entered my family lore.

    The French-Canadian take on Grandfather Dumplings was one of them. I had never heard of grand-pères before. I decided to give it a shot. The traditional recipe calls for a cup or more of maple syrup, which is unaffordable for many people – so I did the caramel version using these two recipes as a basis. If you want the original version, replace the syrup ingredients below with 2 cups maple syrup, 1 cup water.

    Batter

    • 2 Cups Flour
    • 2 Tbsp Sugar
    • 4 Tsp Baking Powder
    • ½ Tsp Salt
    • ⅓ Cup Vegan Butter (eg. Earth Balance)
    • 1 Cup Vegan Milk (eg. Unsweetened Almond Milk)
    1. Mix the dry ingredients.
    2. Add the butter, mixing it in until the mixture becomes crumbly.
    3. Make a hole in the center, and set a side a cup of milk. You’ll pour it into that hole later.

    Caramel Syrup & Preparation

    • 2 Cups Brown Sugar
    • 2 Tbsp Vegan Butter
    • 1¾ Cup Water
    • 1 Tsp Vanilla Extract
    1. Place all the ingredients in a large pot.
    2. Bring to a boil.
    3. Put the heat down to low (2 or 3).
    4. Add the milk now to the flour mixture. Combine well.
    5. Take large spoonfuls of the batter and dump them into the syrup. Make sure they’re well spaced out.
    6. Put the lid on and leave for 15 minutes. Don’t remove the lid!
    7. Take the pot off the heat, and let rest for another 10-15 minutes.
    8. Serve. Goes well with ice cream, or just as breakfast material!
    This picture is not mine, it came from here, but it gives you an idea of how it should look like in the pot.
    This picture is not mine, it came from here, but it gives you an idea of how it should look like in the pot.
    IMG_20131130_110807[2]

    Thoughts

    Delicious. The insides has a similar taste to a thick soft pancake. This one is a keeper.